If you’re looking to elevate your next lighting project—be it a kitchen remodel, retail showcase, or backyard patio upgrade—using an LED channel for LED strip lights is the key to achieving a sleek, professional result. These aluminum or plastic housings not only improve visual appeal but also enhance light diffusion, protect your investment, and extend the life of your fixtures. Whether you’re a DIY enthusiast or managing a commercial retrofit, mastering the use of LED channels transforms basic strips into brilliant installations.
What Is an LED Channel for LED Strip Lights—and Why Use One?
An LED channel for LED strip lights is a mounting track—typically made of aluminum—that houses flexible LED strips while providing structural support, heat dissipation, and optical refinement. Most include a frosted or clear diffuser (or lens), end caps, and mounting clips for seamless installation. These elements work together to elevate the light’s appearance and performance while protecting your LED strips from wear and tear.
Opting for an LED channel offers crucial advantages over mounting bare strips directly to a surface:
- Superior heat management: The aluminum body acts as a passive heat sink, extending LED longevity.
- Refined aesthetics: Channels conceal unsightly wiring and diodes, delivering a sleek, high-end finish.
- Optimized light quality: Diffusers reduce hot spots and produce a soft, even illumination.
- Durability and protection: Shield your strip lights from dust, touch, and—if rated—moisture and UV exposure.
- Flexible configurations: Choose from surface, recessed, corner, or drywall flush-mount styles to match your design intent.
Whether lighting toe kicks in a kitchen or outlining retail shelving, a well-matched LED channel for LED strip lights enhances performance and delivers professional-grade results.
Choosing the Right LED Channel for Your Application
Selecting an LED channel starts with your specific use case. Consider the location (indoor/outdoor), mounting surface, beam angle, and the width of the LED strip.
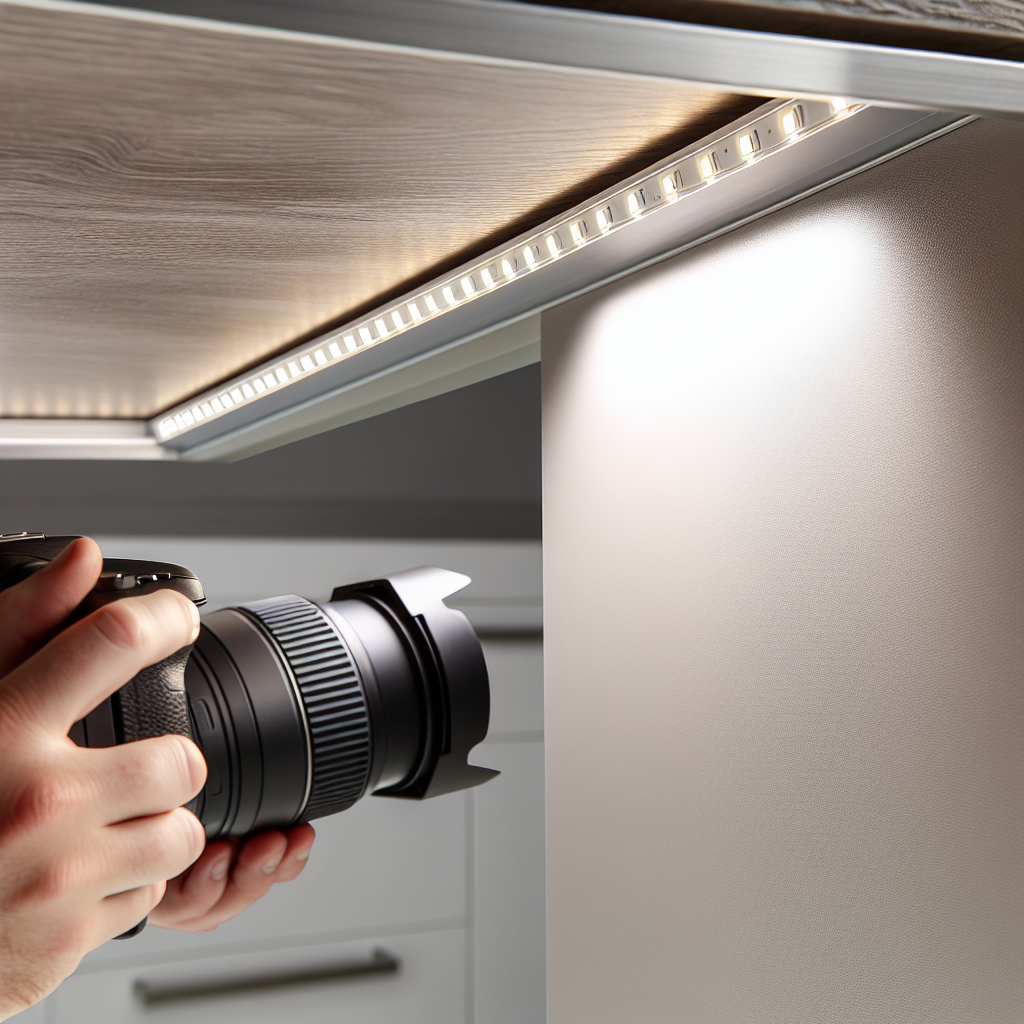
- Surface-Mount Channels: Great for under cabinets, soffits, or floating shelves. Frosted covers work best in visible locations.
- Recessed Channels: Designed for polished, flush installations in walls, floors, or ceilings—depth clearance of 10–12mm is often required.
- Corner-Mount Channels: Excellent for diagonally lighting coves or upper cabinets with a 45° beam that reduces glare.
- Drywall-Integrated Channels: Integrated into gypsum boards for minimalistic, architectural-grade lighting effects.
- Outdoor-Rated Channels: Use IP65+ channels with sealed lenses for patios, docks, or walkways subjected to weather.
Always verify the strip-to-channel fit. LED strips typically range from 8mm to 16mm, so check both track width and height. For high-output or RGBW strips, taller internal height ensures efficient light diffusion and proper cover alignment.
Installation Tips for Flawless LED Channel Results
Installing an LED channel for LED strip lights is straightforward with a bit of prep. Follow these steps for a polished, durable finish:
- Map your layout: Use painter’s tape or chalk lines to plan install paths and ensure even spacing. Mark power entry and connector points.
- Cut precisely: Trim channels with a miter saw or hacksaw to match your layout. Measure twice for clean joints.
- Secure the base: Attach using included clips, adhesive, or screws depending on your substrate. Pre-drill for drywall or tile surfaces to avoid damage.
- Install the LED strip: Clean the channel, peel the LED backing, and press firmly into place along the track.
- Add the diffuser: Snap or slide the lens over the LED strip. Be sure it fits edge to edge for uniform glow.
- Wire the power: Use soldered joints or clip connectors, ensuring proper polarity. Conceal wiring inside walls or moldings when possible.
- Test before finalizing: Activate your lighting to verify luminance levels, color temperature, and evenness. Make adjustments before sealing everything in place.
Pro tip: Add dimmers or timers for control flexibility and bulb longevity. Transition strips around corners with special angle connectors or mitered cuts to maintain clean lines.
Smart Lighting Integration
Today’s lighting systems often include smart technology, and the right LED channel for LED strip lights ensures seamless integration with platforms like Philips Hue, Alexa, Google Home, and Apple HomeKit. Smart-compatible strips with RGBW or tunable white features benefit from high-transparency lenses that support full color and brightness ranges.
Pair your installation with motion sensors in staircases, daylight sensors near windows, or ambient light controls in living spaces. For example, adding aluminum channels with connected LEDs inside a ceiling cove allows for synchronized daylight-to-dusk transitions based on circadian rhythms.
Use a driver with at least 15–20% power headroom. For long runs over 16 feet, install power injection points to eliminate voltage drop and ensure consistent brightness across the channel’s length.
Optimizing Indoor and Outdoor LED Channel Applications
Indoor Uses
- Kitchen Lighting: Install recessed diffused channels under cabinets using 3000K LED strips for precise task lighting and accurate color rendering (90+ CRI).
- Living Room Ambiance: Place RGB strips in matte-black surface channels behind entertainment systems to reduce glare and improve mood lighting.
- Safety Lighting: Embed narrow-profile channels into stair risers and hallways with motion sensors for automatic guidance lighting after dark.
Outdoor Uses
- Deck Illumination: Use weather-resistant aluminum channels rated IP65+ and secure them with rust-proof screws for long-lasting performance in harsh conditions.
- Architectural Highlighting: Embed wall-wash LED channels into facades or stonework to achieve a dramatic nighttime design.
- Driveway Safety: Install flat, vehicle-rated LED channels with sealed polycarbonate covers for safe, durable driveway accent lighting.
Always seal outdoor channels with silicone and secure end caps with gaskets to prevent moisture intrusion. Follow code for GFCI protection and ensure appropriate transformers for outdoor low-voltage systems.
Efficiency and Visual Impact Combined
Installing the right LED channel for LED strip lights ensures optimal beam spread, energy efficiency, and professional-grade lighting effects. Channels funnel light exactly where it’s needed—minimizing spill and maximizing usable output. This not only boosts performance but also reduces energy waste.
If using dimmable LEDs, match them with compatible 0–10V or DALI dimmers for smoother transitions—especially in commercial designs. Modular channel setups allow for layered lighting and zoning options, ideal in restaurants or retail with varied light intensity needs.
Remember, good thermal management enhances light quality and lifespan. An aluminum channel with at least 1.5mm wall thickness can significantly drop component temperatures, preserving LED efficiency over tens of thousands of hours.
Upgrade Your Lighting With Confidence
Incorporating the right LED channel for LED strip lights transforms a basic setup into a refined and reliable lighting system. From kitchens and stairways to patios and architectural features, these channels enable creativity, improve durability, and ensure high visual comfort. By choosing correctly sized profiles, installing thoughtfully, and integrating smart controls, you’ll get lasting results—both in performance and style.