Why Upgrading to Tail Light LED Boards Is a Must for Road-Trippers
Tail light LED boards are an essential upgrade for any road-tripper focused on visibility and safety. Whether you’re navigating winding stretches of California’s Hwy 1 at dusk, cruising the canyons of Utah, or driving across a moonlit Kansas interstate, enhanced rear lighting helps keep you visible—and protected—from other drivers.
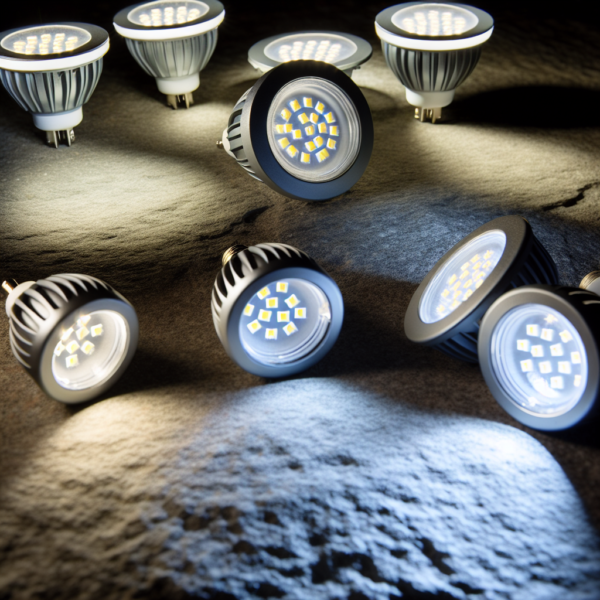
Compared to outdated incandescent bulbs, LED tail light boards shine brighter, last longer, and consume less power. For families exploring national parks, solo vanlifers trekking off-grid, or retired couples towing campers through vast desert highways, one thing’s clear: upgraded tail lights transform your road trips into smart, safer adventures.
In this guide, you’ll learn how to install tail light LED boards yourself—whether you’re parked at a scenic pullout in Mount Rainier or hunkered down in a DIY-friendly campground garage. Let’s light things up.
Tools and Materials You’ll Need
Before diving into installation, gather the right tools. Whether you’re near Asheville’s Blue Ridge Mountains or in a dispersed camping site outside Bozeman, a well-packed toolbox streamlines the process.
- Tail light LED boards designed for your specific vehicle
- Phillips and flat-head screwdrivers
- Torx bits or socket wrench set
- Trim removal tool or padded putty knife
- Soldering iron and solder (optional for custom wiring)
- Wire crimpers and electrical connectors
- Heat shrink tubing or electrical tape
- Multimeter for voltage testing
- Rubber gloves to protect light surfaces
A modular tackle box fits easily into travel vehicles like the Subaru Outback or Toyota Tacoma. It keeps tools organized while maximizing storage—key for anyone exploring with limited gear space.
Step-by-Step Guide: Installing Tail Light LED Boards
Installing tail light LED boards is surprisingly doable with minimal mechanical experience. Most enthusiasts complete an install in under an hour per side—perfect for weekend upgrades or mid-trip fixes.
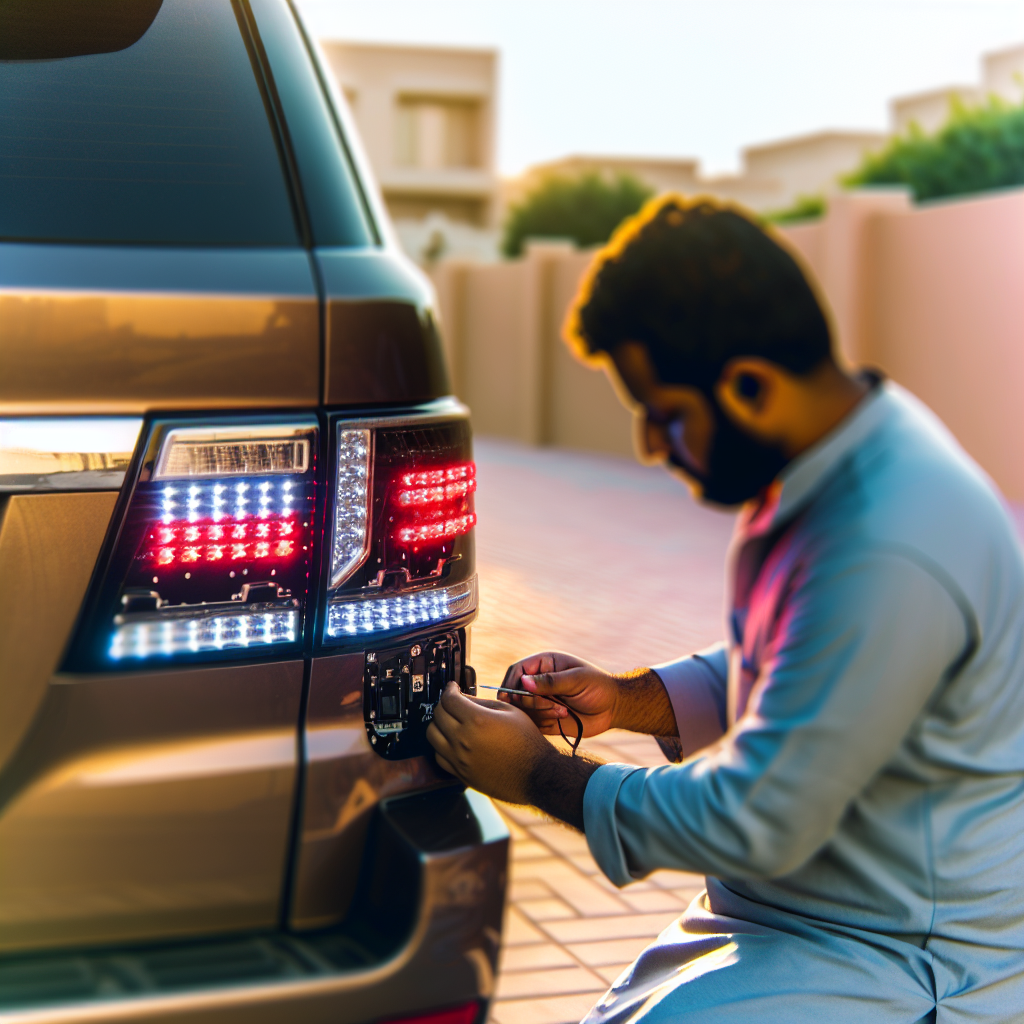
1. Remove the Tail Light Assembly
Open your vehicle’s trunk or hatch, and locate the access panel behind the tail light. Pry off the cover gently to avoid cracking it. Then, unscrew the bolts holding the light fixture, and carefully pull the assembly away from the body.
2. Disconnect the Factory Wiring Harness
Press the release tab on the harness plug and pull gently—never yank the wires. Ensure you disconnect all electrical plugs securely before proceeding to the next step.
3. Remove Incandescent Bulbs
Twist or unclip the existing bulbs from their sockets and set them aside. This step marks your permanent shift to a modern, energy-efficient lighting system.
4. Install the LED Light Boards
Position the tail light LED boards according to your kit’s instructions. Some kits are plug-and-play, while others require wiring. Use crimp connectors or solder for a solid fit. High-performance installs—such as those preferred by off-grid Jeep overlanders and Sprinter van lifers—may also call for resistors to prevent hyper-flashing.
5. Secure the LED Boards
Use factory mounts, brackets, or 3M automotive-grade adhesive to hold the boards in place. Ensure no wiring interferes with closing the housing and avoid pinching cables when reassembling.
6. Test All Lighting Functions
Reconnect the vehicle battery, turn on your headlights, and test brake, reverse, and turn lights. A multimeter helps confirm full functionality—especially when working on imported or vintage vehicles.
7. Reassemble and Add Weatherproofing
Tighten the screws and snap the assembly back into place. In humid or rainy environments, like the Pacific Northwest or Michigan’s Upper Peninsula, apply a weatherproof silicone seal around the housing seam for added protection.
8. Hit the Road with Safer Lighting
Your vehicle now boasts improved rear visibility and a custom look tailored for the adventures ahead. Whether you’re road-tripping along Colorado’s Million Dollar Highway or watching sunset reflections in Montana’s Flathead Lake, your tail light setup will make every mile brighter and safer.
Selecting the Best Tail Light LED Boards
When shopping for tail light LED boards, quality and durability matter—especially for drivers frequently off-grid or off-road. Key features to look for include IP67+ waterproof ratings, anti-vibration technology, and built-in thermal protection.
Well-reviewed brands like Diode Dynamics, VLEDs, and Anzo USA offer kits designed with longevity and adventure travel in mind. If you’re driving classic vehicles—like a ‘70s Bronco or Ford Econoline—consider retrofit kits that maintain factory styling. For modern travelers in minivans or campers, choose compact, low-draw LED panels that preserve auxiliary battery life.
Tips from Real Road Travelers
Vanlifer Rachel Monroe added amber switchback LEDs during her trek from Tucson to Black Rock. “Visibility is everything in dusty conditions,” she explained. If you’re headed into tribal nation lands or low-visibility trails in the Sierra Nevadas, these upgrades help you stay seen while showing courtesy to fellow drivers.
International travel? Be sure your tail light LED boards meet regional requirements—some provinces and countries prohibit red turn signals. This is vital when exploring Canada’s ice roads or Baja California’s remote desert routes.
Where to Buy and How to Get Help on the Road
Need parts while traveling? National retailers like AutoZone and O’Reilly Auto Parts are found nationwide—even in rural hotspots like Asheville, North Carolina and Bozeman, Montana. Many offer free tool loan programs right in the parking lot.
Prefer niche repair shops? Visit places like Off-Grid Outfitters in Flagstaff or The Road Haus Garage in Bellingham. These community-driven hubs offer shared tools, repair tips, and coffee-fueled camaraderie. Online groups like Expedition Portal and Vanlife Diaries keep you connected to advice, resale parts, and installation hacks—even in the middle of nowhere.
Drive Ahead with Confidence and Clarity
From foggy Northern California shores to red-rimmed Utah plateaus, tail light LED boards bring clarity and safety to your travel experience. More than an aesthetic upgrade, they’re a vital investment in protection for you, your passengers, and others on the road.
So whether you’re caravanning cross-country, napping in a national forest, or just escaping suburbia for the weekend, let your LED lights lead the way—bright, efficient, and built for the adventure ahead.