interior led lights for motorhomes reduce power use, produce less heat, and provide clearer illumination than older halogen bulbs. The right fixtures also make cooking, reading, and moving around at night more comfortable.
However, motorhome lighting needs more thought than choosing a bulb for a house. Voltage changes, limited battery capacity, fixture size, and light colour all affect the result.
How to choose interior led lights for motorhomes
Start by checking the voltage and fitting type of the existing light. Most motorhome house systems use 12-volt DC power, although voltage can rise above 14 volts while the battery charges.
Choose LEDs designed for automotive, marine, or leisure vehicle use. These products usually handle voltage fluctuations better than basic household or decorative LED strips.
Match the bulb base or fixture size
Replacement bulbs must use the same base as the original lamp. Common motorhome fittings include G4, GU4, BA15S, BA15D, T10, and festoon bulbs.
Measure the available space before ordering. Some LED replacements have wider circuit boards or longer housings than the bulbs they replace.
For complete fixtures, check the cut-out diameter, mounting depth, and screw positions. A close size match can reduce drilling and avoid leaving old holes visible.
Check brightness in lumens
Lumens provide a more useful measure of brightness than watts. Watts show power consumption, while lumens show how much visible light the lamp produces.
A small reading light may need about 150 to 300 lumens. Ceiling lights often work well at 300 to 600 lumens per fixture, depending on the layout and lens design.
Avoid fitting very bright lamps in every position. Several moderate lights usually create more even coverage and less glare than one intense ceiling fixture.
Select a suitable colour temperature
Colour temperature changes how the interior looks and feels. Warm white light, usually around 2700K to 3000K, suits lounges, beds, and relaxed evening use.
Neutral white light between 3500K and 4000K gives worktops and storage areas a clearer appearance. Cooler lamps above 5000K can look harsh inside a compact motorhome.
Use the same colour temperature within each area. Mixing cool and warm bulbs in one ceiling often makes cabinets and fabrics look uneven.
Plan lighting for each part of the motorhome
Good interior led lights for motorhomes combine general lighting with focused task lights. A single fixture type rarely serves every area well.
Kitchen and dining area
Place task lights above worktops, the hob, and the sink. These fittings should illuminate the work surface without casting a shadow from the person preparing food.
Neutral white LEDs help with chopping and cleaning because they show detail clearly. Choose enclosed fittings near steam or splashes, and follow the fixture maker’s location guidance.
Lounge and sleeping area
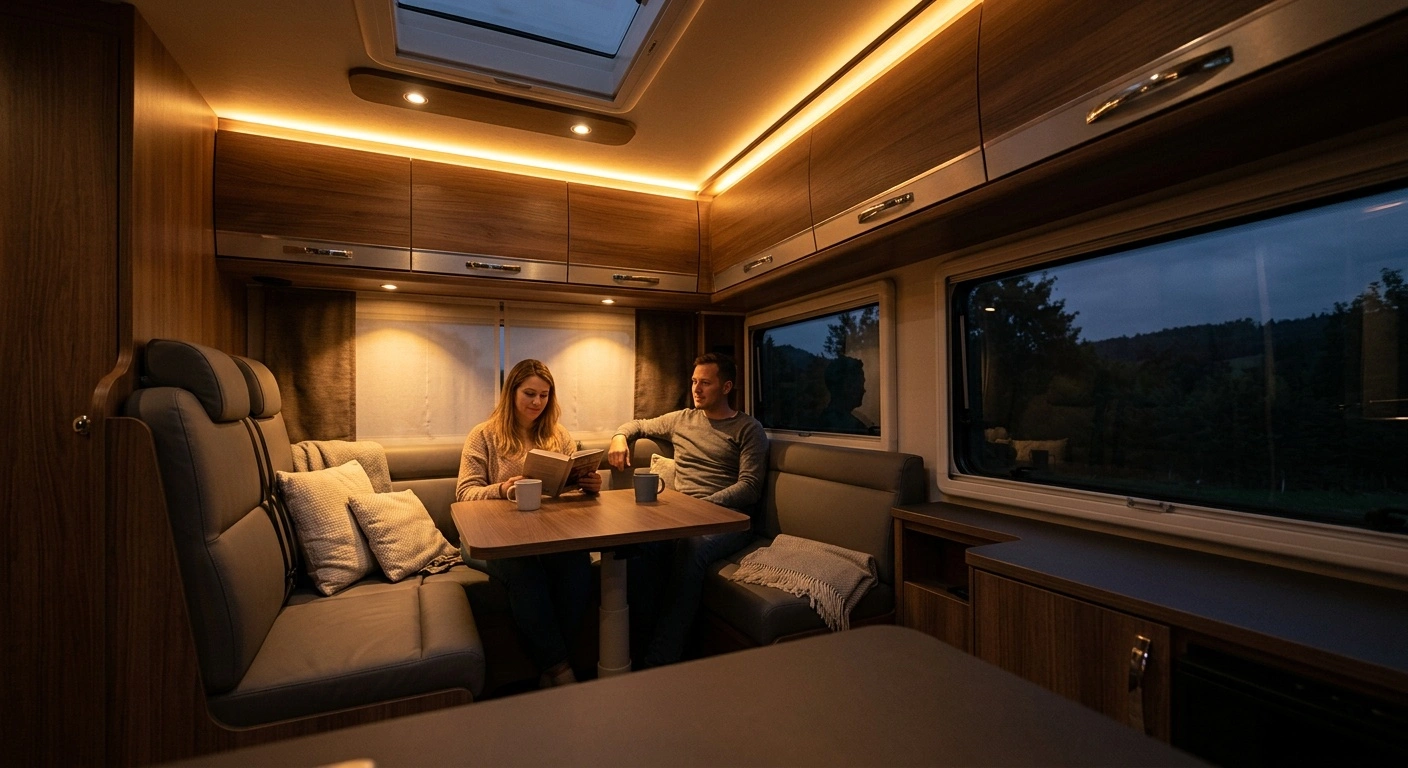
Warm white ceiling lights create comfortable general illumination. Adjustable reading lamps give each person useful light without brightening the whole cabin.
Look for reading lights with a firm swivel joint and a local switch. USB charging ports can add convenience, but confirm their standby power draw before installation.
Steps, lockers, and washrooms
Low-level step lights improve visibility after dark without disturbing sleeping passengers. Small recessed fittings also work well inside wardrobes and deep lockers.
Washroom fixtures need suitable protection from moisture. Check the product’s IP rating and keep fittings outside restricted wet zones unless the manufacturer approves that use.
Dimming, switches, and night lighting
A dimmer gives one fixture several useful brightness levels. It can also reduce battery use during quiet evenings, although the actual saving depends on the lamp and dimmer.
Confirm that both products support 12-volt DC dimming. An incompatible dimmer may cause flicker, limited adjustment, radio interference, or a faint glow after switching off.
Consider separate circuits for ceiling lights, reading lamps, and low-level night lights. This layout gives occupants more control and avoids lighting unused areas.
Power consumption and battery use
LED lighting draws less power than comparable halogen lighting. To estimate current draw, divide the total wattage by the system voltage.
For example, four 3-watt lights use 12 watts in total. On a 12-volt supply, they draw about one amp under a simple nominal calculation.
Real consumption may vary with battery voltage and driver efficiency. Product specifications or a DC clamp meter will provide a more accurate figure.
Installation and wiring checks
Disconnect the motorhome’s house battery before working on a 12-volt lighting circuit. Also isolate shore power and solar charging if either source can energise the system.
LEDs often depend on correct polarity. If a new lamp does not illuminate, check the positive and negative connections with a suitable meter before changing the wiring.
Use the correct cable size, fuse rating, connectors, and strain relief. Secure every cable away from sharp metal edges, heat sources, hinges, and moving furniture.
Replacing a complete fixture may expose damaged wiring or brittle insulation. Stop work if you find overheating, corrosion, or an unexplained wiring arrangement, then consult a qualified motorhome electrician.
Replacing fluorescent fittings
Older motorhomes may use fluorescent tubes with a ballast inside the fitting. Installing an LED tube without checking its wiring requirements can damage the lamp or create a fault.
Follow the LED manufacturer’s conversion diagram exactly. In many cases, replacing the complete fitting provides a cleaner and more reliable result.
Common LED lighting problems
Flickering often points to low voltage, a loose connection, an incompatible dimmer, or a poor-quality driver. Test the supply voltage at the fitting while the light operates.
Radio or television interference can come from an inadequately filtered LED driver. If interference begins after an upgrade, switch off each new light in turn to identify the source.
Premature failure often results from trapped heat or excessive charging voltage. Use regulated LED products and leave ventilation around fittings that rely on heat dissipation.
Some LEDs continue to glow faintly after the switch turns off. Illuminated switches, dimmers, or monitoring circuits may allow a small leakage current to reach the lamp.
What to check before buying
- Confirm the nominal system voltage and expected charging voltage.
- Identify the bulb base, fixture dimensions, and mounting depth.
- Compare lumen output rather than wattage alone.
- Choose a colour temperature for each area.
- Check dimmer compatibility where required.
- Review polarity, IP rating, and operating temperature.
- Look for a clear warranty and technical specifications.
Buy one sample before replacing every lamp in the vehicle. Test its brightness, colour, glare, radio interference, and fit during daytime and evening use.
A practical motorhome lighting upgrade
Choosing interior led lights for motorhomes starts with the electrical system, then moves to comfort and placement. Match each lamp to its task instead of using the same brightness throughout the cabin.
A careful installation will reduce battery demand and improve visibility without creating glare. Accurate measurements, regulated products, and sound wiring matter more than decorative features.