Why do LED lights flicker? Common causes include an incompatible dimmer, a failing LED driver, loose wiring, or unstable circuit voltage. LEDs react almost instantly to current changes, so even small disturbances can cause flashing, pulsing, or shimmer. To answer “why do LED lights flicker,” first determine whether the problem affects one bulb, one circuit, or the whole house.
Flicker that appears only during dimming usually points to dimmer compatibility or an incorrect low-end setting. If one lamp flickers at full brightness, inspect the bulb, socket, and fixture temperature. When several lights flicker together, suspect the switch, circuit wiring, neutral connection, or incoming power.
Old incandescent dimmers commonly cause LED flicker and buzzing. Replace them with LED-rated dimmers that the lamp or fixture manufacturer recommends. Call a licensed electrician if several fixtures flicker or you notice heat, crackling, discoloration, sparks, or a burning smell.
Why Do LED Lights Flicker When Incandescent Bulbs Did Not?
An incandescent lamp creates light by heating a filament. That hot filament continues glowing briefly as alternating current changes direction. An LED lacks this thermal buffer, so its light output follows the electronic driver much more closely.
On a nominal 60 Hz household supply, some LED drivers produce 120 light pulses per second. The driver uses both halves of the AC waveform, which doubles the pulse rate. You may see steady light, a faint shimmer, or obvious flashing, depending on the pulse depth and driver design.
The driver converts household AC power into the regulated DC current that LEDs need. A well-designed driver smooths the waveform and maintains stable current during modest voltage changes. A basic, incompatible, or deteriorating driver may allow noticeable changes in light output.
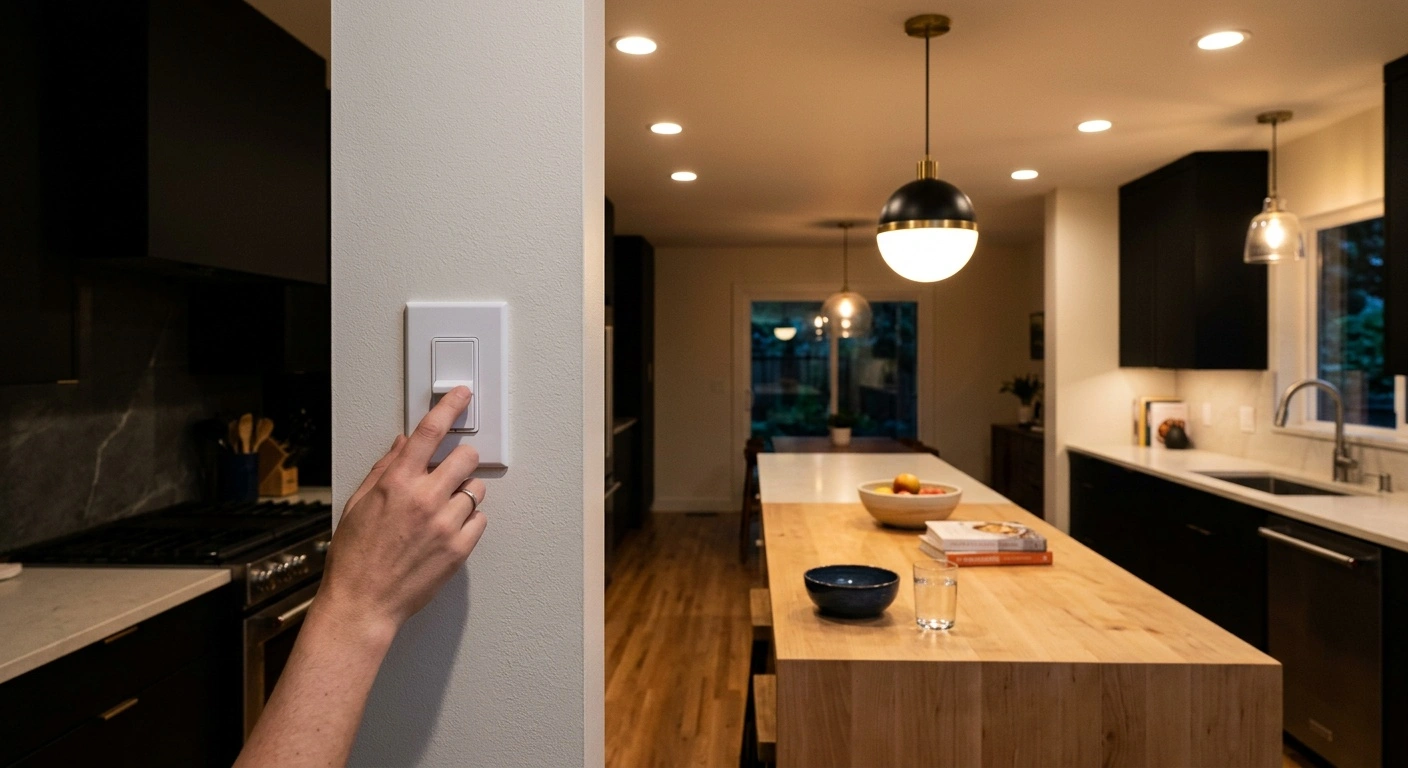
Dimmers make this task harder because they cut portions from the AC waveform. They do not simply reduce voltage. If the driver cannot process that waveform, the lamp may pulse, buzz, drop out, or jump between brightness levels.
Check documented dimmer compatibility, the supported dimming range, and any published flicker data. Wattage measures power use, while lumens measure brightness. Neither value confirms that a lamp will work properly with a specific dimmer.
| What you observe | Likely cause | Useful test | Typical correction |
|---|---|---|---|
| Flicker only below about 20% brightness | Dimmer low-end range | Raise the dimmer level | Adjust the low-end trim or use a better-matched lamp and LED dimmer |
| Flicker at every dimmer setting | Dimmer and driver mismatch | Check the lamp manufacturer’s compatibility list | Install a recommended LED-rated dimmer |
| One bulb flickers at full output | Failed bulb, poor socket contact, or excess heat | Install a known-good compatible bulb | Replace the bulb or have the socket repaired |
| Every light on one circuit flickers | Switch, wiring, neutral, or circuit-voltage problem | Check whether the lights share a breaker | Ask a licensed electrician to inspect the circuit |
| Lights dip when a motor starts | Voltage drop or shared circuit load | Watch the lights when HVAC equipment or appliances start | Have an electrician evaluate the circuit and service voltage |
| Lamp flashes or glows while switched off | Leakage current from an electronic control | Look for a smart switch, timer, sensor, or illuminated switch | Use a compatible control or manufacturer-approved bypass device |
| Flicker appears only on video | Camera shutter interaction | Compare different fixtures and camera settings | Use low-modulation lighting or adjust the shutter rate |
Start With a Safe LED Flicker Diagnosis
First, identify the scope of the problem. Does it affect one lamp, one switched group, one circuit, or the entire house? This distinction helps separate a failed bulb from a wiring or utility problem.
Set the light to full output. If the flicker stops at 100% brightness, investigate the dimmer and lamp compatibility first. A stable lamp at full output often indicates a dimming problem rather than a supply problem.
Switch off the power and let the lamp cool before touching it. Confirm that a screw-in bulb sits firmly in its socket, but do not overtighten it. Then test a known-good LED that suits the fixture, location, and dimmer.
Inspect the fixture from the outside. Look for discoloration, unusual heat, a loose bulb base, buzzing, or a burnt odor. These signs require more caution than ordinary lamp replacement.
Do not remove a hardwired fixture, switch, dimmer, junction-box cover, or electrical-panel cover during a casual test. Those components contain line-voltage wiring. Ask a licensed electrician to inspect them.
If lights in several rooms flicker together, contact an electrician or the electric utility. A service connection or neutral fault can damage appliances and create fire or shock hazards.
Troubleshooting Common LED Flicker Problems
LED Lights Flicker Only When Dimmed
Problem: The lamps remain steady at full brightness but shimmer, flash, buzz, or shut off at low levels. Some lamps also jump from dark to bright instead of starting smoothly.
Cause: The wall control may use an older incandescent dimmer. The connected LED load may also fall below the dimmer’s minimum requirement. In other cases, the LED driver cannot process the dimmer’s phase-cut waveform.
Two products marked “dimmable” will not always work together. Manufacturers test only specific combinations of lamps, fixtures, and controls.
Fix: Check the lamp or fixture manufacturer’s dimmer compatibility list. Use a listed LED-rated dimmer whenever possible. Also confirm that the total connected load falls within the dimmer’s LED rating.
If the dimmer includes low-end trim, raise the setting until every lamp starts reliably. Many residential LED combinations dim only to 5% or 10%. Do not assume they will reach 1% without flicker.
Replacing a wall dimmer requires work inside a line-voltage box. A licensed electrician should handle that job and correct any wiring defects found inside.
One LED Bulb Flickers at Full Brightness
Problem: One bulb flashes or pulses while other lamps on the same switch remain steady. The problem may appear after the bulb has operated for several minutes.
Cause: The bulb’s driver may be failing. Poor socket contact or excess heat can produce similar symptoms. Heat-related flicker often worsens as the lamp warms up.
Fix: Switch off the power, let the lamp cool, and install a known-good compatible bulb. If the flicker follows the original bulb, replace it. If the problem stays with the fixture, stop using that socket until someone inspects it.
Choose a UL- or ETL-listed replacement that suits the fixture’s location. For a sealed globe or closed housing, select a lamp that supports enclosed fixtures. Trapped heat can damage the driver and shorten LED life.
Several Lights on the Same Switch Flicker Together
Problem: Every lamp controlled by one switch flickers at the same time. The effect may remain constant, appear intermittently, or start when someone touches the switch plate.
Cause: A mismatched dimmer can disrupt the entire group. A loose terminal, splice, neutral, or supply conductor can also interrupt power to every connected fixture. A worn control may buzz or feel unusually warm.
Fix: If the circuit uses a dimmer, verify the lamp type and total LED load. Compare both with the control manufacturer’s specifications.
Turn off the circuit if you hear crackling or see arcing or scorch marks. Do the same if you smell burning. Do not pull the switch from its box or tighten terminals unless you have proper electrical training.
A licensed electrician can test the switch, splices, neutral continuity, and circuit voltage. The electrician can then replace faulty parts with properly listed components.
LED Lights Dip When an Appliance Starts
Problem: LEDs briefly dim when an air conditioner, refrigerator, vacuum, pump, or other motor starts. A small, brief change may reflect normal motor-starting current. Repeated or severe dips need investigation.
Cause: The lighting circuit may carry a heavy load or share wiring with a large appliance. Voltage can also drop because of a poor connection. Fast-acting LED drivers make these disturbances easier to see.
Fix: Record which appliance starts and which rooms show the problem. Note whether the appliance and lights share a breaker. This information can help an electrician reproduce the fault.
Do not use extension cords as a permanent workaround for large appliances. Never increase the breaker size without confirming that the wiring can support it.
An electrician can measure voltage under load and inspect conductor sizing and connections. If some lights brighten while others dim, seek prompt help. That pattern can indicate a damaged or loose neutral.
An LED Flashes or Glows After the Switch Is Off
Problem: A bulb flashes periodically or gives off a faint glow after you switch it off. This often occurs with smart switches, timers, occupancy sensors, and illuminated controls.
Cause: Some electronic controls pass a tiny current through the lighting load to power their internal electronics. An incandescent filament ignores this current. An LED driver may store it until the lamp flashes, then begin charging again.
Fix: Confirm that the control supports LEDs and the connected wattage. A neutral-connected switch often draws less operating current through the lamp. However, you still need to verify compatibility.
Some manufacturers recommend a specific bypass or load-correction device. Use only the approved part and follow the installation instructions. Do not improvise with a generic resistor.
Installing a switch, bypass device, or neutral connection involves line voltage. Ask a licensed electrician to complete that work.
Smart Bulbs Flicker on a Wall Dimmer
Problem: A smart bulb flickers, resets, disconnects, or changes brightness on a conventional wall dimmer. Lowering the wall control may also take the bulb offline.
Cause: Most smart bulbs contain their own wireless controls and electronic dimming circuits. They expect continuous power at full line voltage. A phase-cut dimmer supplies a chopped waveform that can disrupt those electronics.
Fix: Connect the smart bulb to a standard on-off supply unless the manufacturer approves a specific dimmer. Control brightness through the app, remote, or compatible wireless control.
For wall-based dimming, consider a smart switch with compatible conventional LED lamps. You can also use an approved wireless wall controller that keeps the smart bulb powered. Hire a licensed electrician for hardwired switch replacement.
A Recessed or Enclosed LED Flickers After Warming Up
Problem: The light starts normally, then pulses, dims, or shuts off after several minutes. It may work again after you let it cool.
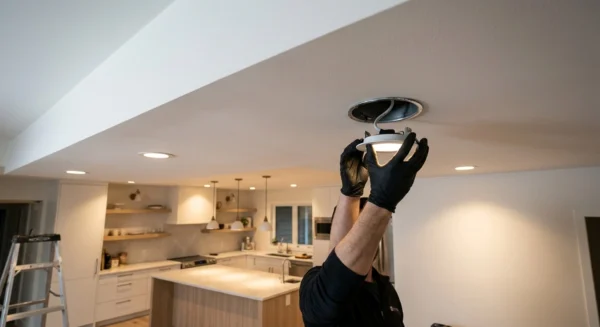
Cause: Heat may trigger the driver’s thermal protection. Enclosed fixtures, insulated ceiling spaces, and covered recessed housings can trap that heat. An unsuitable bulb or misplaced insulation can make the problem worse.
Fix: Review the lamp and fixture instructions for enclosure and insulation restrictions. Use a bulb with the correct base, size, and enclosed-fixture approval. A lower wattage claim alone does not confirm safe enclosed use.
Do not cover an integrated recessed fixture with insulation unless its markings allow that installation. Switch off the circuit if the problem involves damaged wiring, a hardwired fixture, or a worn socket. Then call a licensed electrician.
Flicker or Dark Bands Appear Only on Camera
Problem: The room looks steady, but phone video shows rolling dark bands or exposure changes. Slow-motion recording often makes the effect more obvious.
Cause: The camera’s electronic shutter samples light at a rate that conflicts with the driver’s output modulation. The lamp may look steady to your eyes while its output still changes over time.
Fix: Test the scene under another fixture. If your camera allows it, change the shutter speed or frame rate. Match the settings to the local power frequency when possible.
For video work, choose lights whose manufacturers publish temporal light modulation data. Test them at every brightness level you plan to use. Dimming can increase modulation even when full-output performance looks acceptable.
How to Choose LED Lights That Are Less Likely to Flicker
Start with compatibility rather than wattage or an incandescent-equivalent label. Match the bulb’s lumens to the brightness you need. About 800 lumens approximates a traditional 60-watt incandescent, though fixture losses and beam shape affect the result.
Confirm that the lamp supports dimming if you plan to use a dimmer. Check the manufacturer’s tested dimmer list and minimum dimming level. An LED-rated label alone does not guarantee smooth operation with every lamp.
Choose a UL- or ETL-listed lamp or fixture with the correct dry- or damp-location rating. For a sealed lens or globe, verify enclosed-fixture approval. Excess heat shortens the life of both drivers and diodes.
For integrated fixtures, check the warranty and driver-replacement options. A failed driver may require replacement of the complete fixture. Serviceable components can reduce future repair costs.
If flicker performance matters for filming or detailed work, look for published temporal light modulation data. The manufacturer should state the test conditions and dimming level. Treat unsupported “flicker-free” claims with caution.
Manufacturers often express LED life as an L70 projection. L70 marks the point when expected light output falls to 70% of its original level. It does not guarantee that the driver will avoid an early failure.
When LED Flicker Means Stop and Call an Electrician
Stop troubleshooting if flicker occurs with a hot switch plate, crackling, sparks, smoke, scorch marks, or a burning odor. Turn off the affected circuit at the breaker if you can do so safely. Do not restore power until an electrician inspects the fault.
Seek prompt help when multiple circuits flicker or lights alternate between brighter and dimmer. Also act quickly if large appliances change the brightness throughout the house. These patterns can indicate a loose neutral, service fault, or overloaded circuit.
Opening a junction box or replacing a hardwired fixture exposes line-voltage wiring. The same applies to installing a dimmer, adding a neutral, or modifying a circuit. A licensed electrician should perform this work.
An electrician can measure supply voltage under load and verify neutral and grounding connections. They can also inspect splices and confirm control compatibility. If the fault involves the incoming service, the electric utility may need to investigate.
Repeated bulb replacement may hide the symptom without correcting the electrical problem. Diagnose the circuit before another lamp or appliance suffers damage.
Fix LED Flicker at the Driver, Control, or Circuit
Most residential LED flicker comes from the interaction between supply voltage, the driver, and the connected control. Begin by identifying whether the fault follows one bulb, one switch, one circuit, or the whole house.
A known-good compatible bulb can reveal a failed lamp. Stable operation at full brightness but not at low levels points toward the dimmer. Use compatible LED-rated controls and follow their published load limits.
Check fixture temperature as well. Ordinary bulbs can overheat inside sealed fixtures unless the manufacturer approves enclosed use. Heat-related flicker often starts only after the lamp has warmed up.
Treat synchronized flicker, widespread brightness changes, heat, noise, or burning smells as possible wiring faults. Stop when the diagnosis reaches a wall box, junction box, hardwired driver, or electrical panel. A licensed electrician can find the fault without creating a larger safety risk.