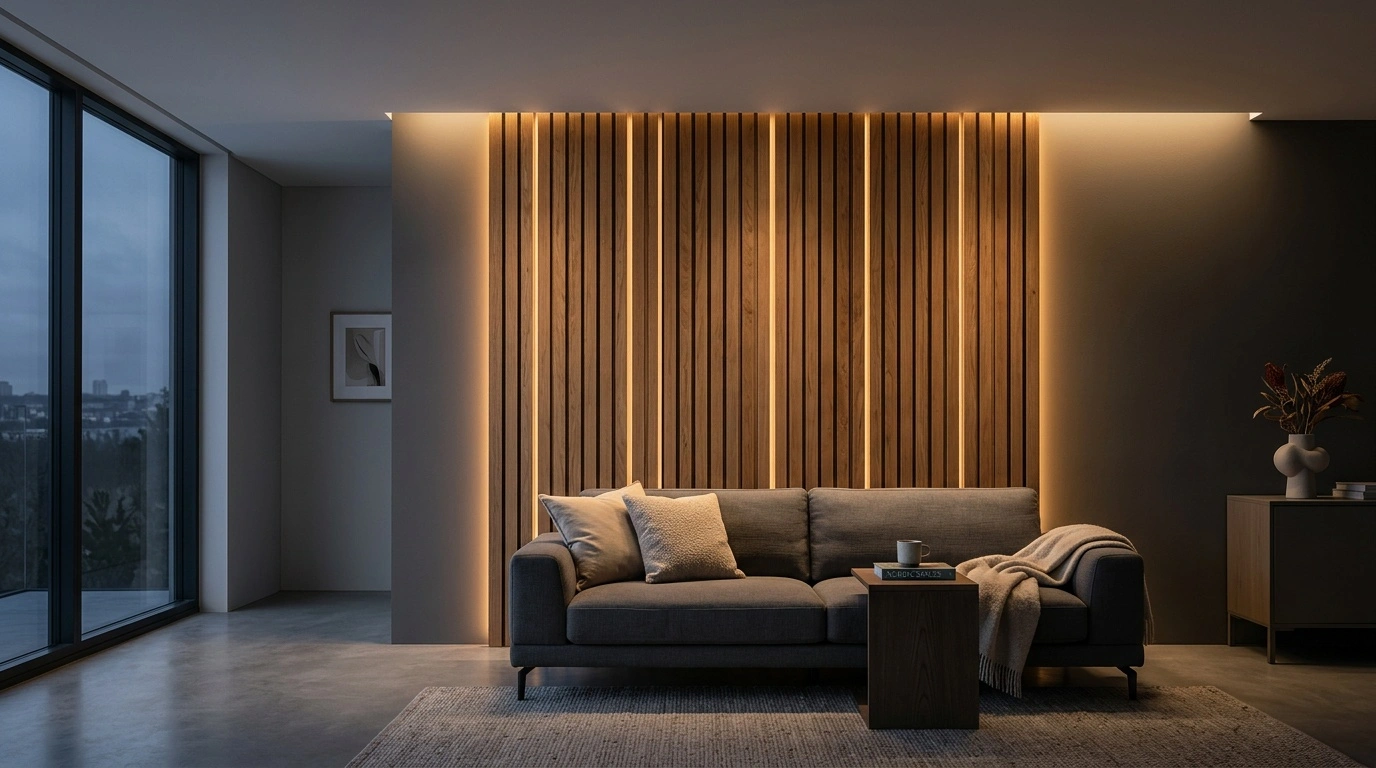
Panelling with LED lights adds texture, depth, and practical illumination to an interior. Careful planning helps the panels and lighting look integrated rather than added as separate features.
This approach works well on media walls, behind beds, in hallways, and around dining areas. The right layout can also make a narrow room appear wider or a low ceiling feel taller.
How to Plan Panelling with LED Lights
Start by deciding what the wall needs to achieve. You may want soft background light, stronger task lighting, or a defined architectural feature.
Measure the wall and mark the panel layout with low-tack tape. Check the design from several positions before cutting timber or routing channels.
Choose the Lighting Position
LED strips can sit inside panel grooves, behind projecting battens, or along the outer edge of the design. Concealed strips produce a soft glow, while exposed diffusers create a sharper line.
Avoid placing bare LED tape where people can see individual diodes. An aluminium channel with an opal diffuser creates a cleaner, more even result.
Plan the Power Supply
Choose the driver before installing the panels. Its wattage must exceed the total load of the LED strips, with some spare capacity for reliable operation.
Place the driver somewhere accessible, ventilated, and discreet. Suitable locations include cupboards, service panels, and the space behind removable sections of joinery.
Ask a qualified electrician to handle mains connections and fixed wiring. This step also helps you comply with local electrical regulations.
Selecting Panels and LED Strips
MDF works well for painted geometric panelling because it cuts cleanly and accepts primer. Timber battens suit natural finishes, while slatted acoustic panels add sound absorption.
Check the depth of every batten before selecting an LED profile. The channel must fit securely without weakening the surrounding material.
Colour Temperature and Brightness
Warm white light between 2700K and 3000K suits bedrooms and relaxed living spaces. Neutral white light around 4000K works better in offices, kitchens, and practical areas.
Brightness depends on the purpose of the installation. Gentle accent lighting may need 300 to 600 lumens per metre, while task lighting requires more output.
Look for LED strips with a colour rendering index of at least 90. A higher CRI shows paint, timber, fabrics, and skin tones more accurately.
Voltage and Strip Density
Twenty-four-volt LED strips usually handle longer runs with less voltage drop than twelve-volt products. They suit large walls and continuous lighting lines.
High-density strips reduce visible spotting under a diffuser. COB strips create an almost continuous line and work well in shallow profiles.
Installation Steps for a Clean Finish
Draw the full arrangement on the wall, including cable routes and driver access. Use a level or laser to keep vertical and horizontal sections aligned.
- Prepare the wall and repair uneven areas.
- Cut the panels, battens, and aluminium channels to size.
- Drill cable routes before fixing the decorative sections.
- Secure the channels and test the LED strips.
- Install the panels, then fill, sand, and paint them.
- Fit the diffusers after the paint has fully dried.
Always test the lighting before closing any access points. Check for flickering, dark sections, loose connectors, and visible changes in brightness.
Control Options
A wall dimmer gives simple, reliable control. Smart controllers can add schedules, app operation, and compatibility with voice assistants.
Use compatible dimmers, drivers, and LED strips. Mismatched components often cause buzzing, limited dimming ranges, or flickering at low brightness.
Common Design and Installation Mistakes
Too many illuminated lines can make a wall look busy. Choose a few deliberate sections and let the unlit panelling provide contrast.
Do not trap the LED strip inside a sealed timber groove without heat management. Aluminium profiles draw heat away and can extend the strip’s working life.
Long cable runs may also cause uneven brightness. Use the correct cable size, feed longer strips from both ends, or divide the design into shorter circuits.
Keep lighting away from curtains and other materials that may cover the profile. In bathrooms, choose products with an appropriate IP rating and follow electrical zone rules.
Where This Wall Treatment Works Best
Behind a television, panelling can frame the screen and reduce harsh contrast at night. Keep the LEDs out of direct sight to prevent distracting reflections.
In a bedroom, vertical battens and warm concealed light create a practical headboard feature. Position switches near the bed for convenient control.
Hallways benefit from low-level lighting along horizontal panels. This arrangement can guide movement without relying on bright ceiling fixtures.
Dining spaces suit dimmable perimeter lighting or narrow vertical accents. Keep the colour temperature consistent with nearby pendants and wall lights.
Maintaining Panelling with LED Lights
Dust diffusers and panel grooves with a soft cloth or brush attachment. Avoid soaking MDF edges or using abrasive cleaners on painted surfaces.
Keep the driver accessible for inspection or replacement. Modular connectors and removable diffusers also make future repairs simpler.
A successful installation balances light output, panel proportions, and practical cable access. With those details resolved early, the finished wall will remain tidy and serviceable.