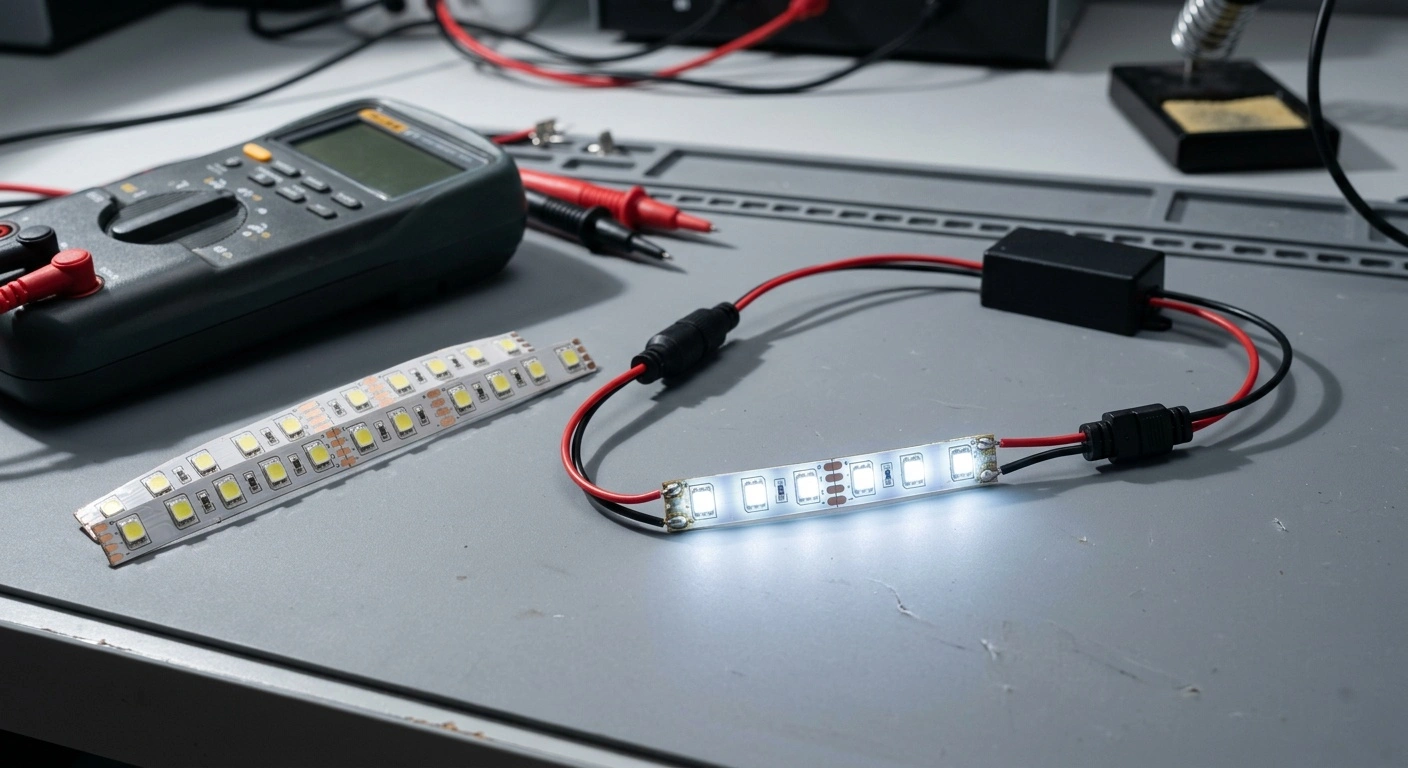
LED light polarity determines which way current must flow for an LED to illuminate. Unlike an incandescent bulb, a standard LED conducts current in only one direction. Connecting it backward usually prevents it from lighting, though excessive reverse voltage can damage it.
How LED Light Polarity Works
LED stands for light-emitting diode. A diode has two terminals: the anode and the cathode. Conventional current enters through the anode and exits through the cathode.
Connect the anode to the positive side of a DC supply. Connect the cathode to the negative side. You should also use a suitable current-limiting resistor unless the LED assembly includes one.
Forward and Reverse Bias
An LED operates under forward bias when the anode has a higher voltage than the cathode. Once the voltage reaches the LED’s forward-voltage range, the device begins producing light.
Reverse bias occurs when you swap the connections. A low reverse voltage may simply keep the LED off. However, a higher reverse voltage can exceed the component’s rating and cause permanent damage.
How to Identify an LED’s Positive and Negative Leads
Manufacturers use several physical markings to show polarity. Check more than one marking when possible, especially if someone has trimmed the leads.
- Long lead: The longer lead usually marks the positive anode.
- Short lead: The shorter lead usually marks the negative cathode.
- Flat edge: A flat section on the LED body often identifies the cathode.
- Internal plates: The larger internal metal plate usually connects to the cathode.
These indicators work for most common through-hole LEDs. They may not apply to specialty components or preassembled lighting products. Consult the datasheet when a part number is available.
Surface-Mount LED Markings
Surface-mount LEDs often use a printed line, dot, notch, or triangular symbol. The meaning varies among packages and manufacturers. Check the component datasheet before soldering it onto a circuit board.
Circuit boards may also label pads with a plus sign, minus sign, “A,” or “K.” “A” identifies the anode, while “K” identifies the cathode.
Testing LED Polarity With a Multimeter
A digital multimeter in diode-test mode offers a reliable way to check LED light polarity. Place the red probe on one lead and the black probe on the other. A working LED may glow faintly when the probes match its forward direction.
The display may show the LED’s forward voltage. If the meter shows an open circuit, reverse the probes and test again. Some meters cannot supply enough voltage to light blue, white, or ultraviolet LEDs.
Testing With a Battery
You can also test an LED with a low-voltage battery and a series resistor. Never connect a bare LED directly across a battery. The unrestricted current can destroy the component.
Choose the resistor from the supply voltage, forward voltage, and target current. Use this formula: resistance equals supply voltage minus forward voltage, divided by current. Enter current in amperes to calculate resistance in ohms.
For example, consider a 5-volt supply and an LED with a 2-volt forward voltage. At 10 milliamps, the calculation produces 300 ohms. A standard 330-ohm resistor provides a safe nearby value.
Polarity in LED Strips, Bulbs, and Fixtures
Low-voltage LED strips usually have positive and negative copper pads. Match those markings to the DC power supply. Reversing the wires normally keeps the strip off, but it can damage strips without reverse-polarity protection.
Automotive LED replacement lamps may also depend on polarity. If a lamp does not work, switch off the power before reversing its orientation. Do not change connections while the circuit remains energized.
Many household LED bulbs accept alternating current through internal driver electronics. Their screw bases or plug connections do not require the same polarity check as a bare LED. Follow the fixture and bulb ratings instead.
Addressable LED Strips
Addressable strips require correct power connections and data direction. Arrows printed on the strip show the direction of the data signal. They do not necessarily identify the positive power rail.
Match the supply voltage to the strip specification. Also connect the controller ground to the strip ground. Incorrect voltage can cause more damage than reversed data connections.
Common LED Wiring Problems
An LED that fails to light does not always have reversed polarity. Check the supply voltage, resistor value, loose connections, and solder joints. A damaged LED may remain dark in both directions.
Dim output can indicate inadequate current or excessive resistance. Flickering often points to unstable power, poor contacts, or an incompatible driver. Test each part of the circuit before replacing components.
- Disconnect power before changing wires or components.
- Confirm the power supply’s positive and negative terminals.
- Use a resistor or regulated LED driver to control current.
- Verify voltage and current ratings in the manufacturer’s documentation.
- Avoid exceeding the LED’s reverse-voltage rating.
Getting LED Connections Right
Correct led light polarity starts with identifying the anode and cathode. Physical markings, datasheets, and a multimeter can confirm the orientation. Current limiting then protects the LED during normal operation.
If an LED remains dark, disconnect the power and inspect the full circuit. Check polarity first, then test the supply and connections. A careful setup prevents damaged components and makes troubleshooting faster.