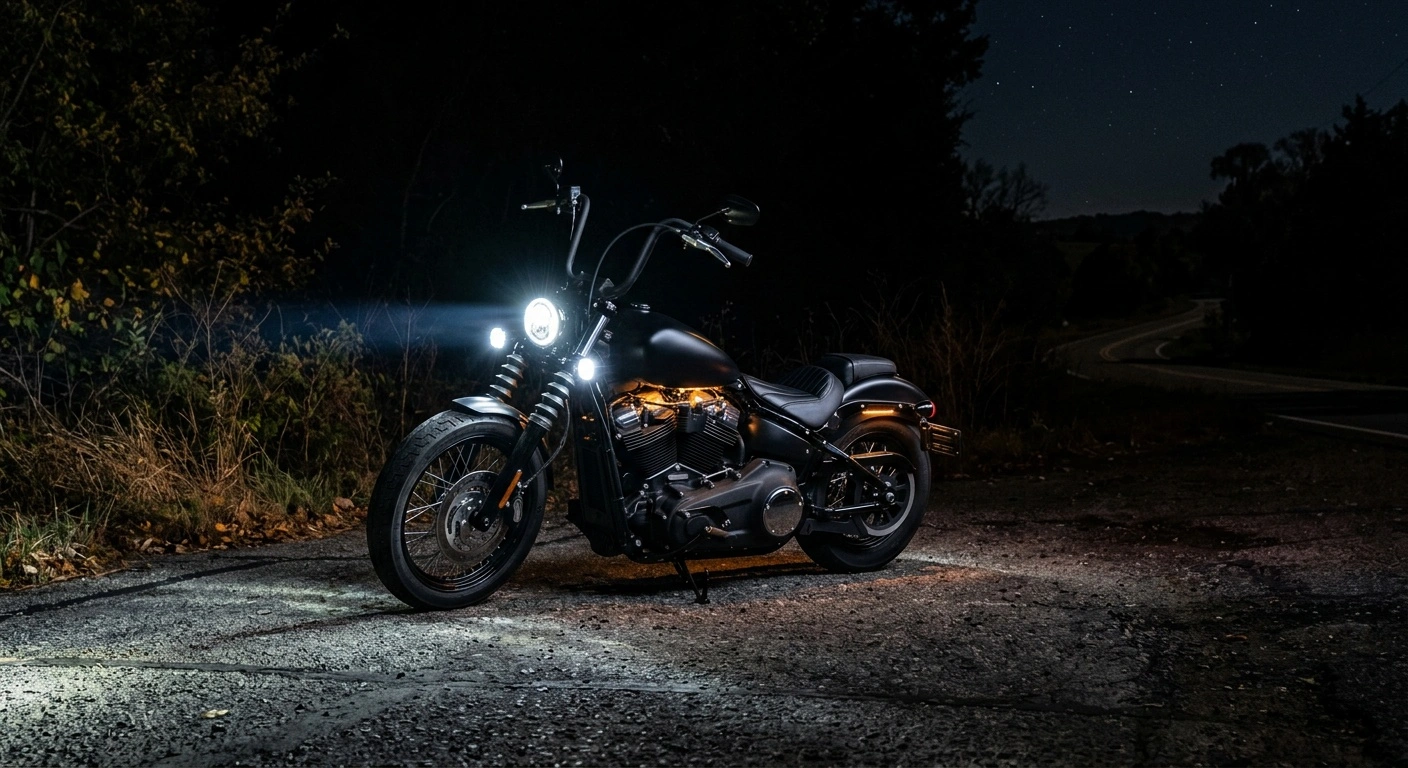
LED lights for Harley Davidson motorcycles can improve nighttime visibility, reduce power draw, and sharpen the bike’s appearance. However, fitment and beam quality matter more than raw brightness claims. Choose lighting that matches your model, wiring system, and local road laws.
A quality LED upgrade should place light where the rider needs it. Poorly designed bulbs can scatter glare toward other drivers while leaving dark areas on the road. Check the beam pattern, housing size, connector type, and compliance markings before buying.
How to Choose LED Lights for Harley Davidson Motorcycles
Start with your motorcycle’s year, model, and trim. Harley-Davidson has used several headlight sizes, mounting systems, and electrical configurations. A lamp that fits a Sportster may not fit a Street Glide or Road Glide.
Confirm the Housing Size and Mount
Many Harley models use a 5.75-inch or 7-inch round headlight, but exceptions exist. Fairing-mounted headlights may require model-specific brackets or complete assemblies. Measure the existing housing and compare its mounting points with the manufacturer’s fitment chart.
Also check the available depth behind the lamp. LED headlights often include heat sinks, cooling fins, or external driver modules. These parts need enough clearance inside the bucket or fairing.
Check the Connector and Electrical System
Some headlights connect through a standard H4 plug. Other models require an adapter harness for high beams, halo rings, or daytime running lights. Avoid cutting the factory harness when a plug-in adapter is available.
Later motorcycles may use a body control module to monitor lighting circuits. An incompatible LED can trigger warning lights, flickering, or incorrect turn-signal timing. A compatible module, load equalizer, or programming procedure may solve the issue.
Judge the Beam Pattern, Not Just the Lumens
Lumen figures do not show how a headlight performs on the road. The reflector or projector must shape the light into a controlled low beam and a useful high beam. Look for clear cutoff photos and independent road tests.
Be cautious with LED bulbs installed inside reflectors designed for halogen filaments. The different light-source position can create glare and weak distance lighting. A complete LED headlight assembly usually provides better optical control.
Main Types of Harley-Davidson LED Lighting
Each light serves a different purpose, so prioritize upgrades based on how and where you ride. Riders who travel after dark should start with the headlight. Brake and turn-signal upgrades can follow.
| Light Type | Primary Benefit | Key Fitment Check |
|---|---|---|
| Headlight | Improves forward visibility | Housing size, depth, mount, and connector |
| Passing lights | Adds near-field and roadside coverage | Bracket size and beam aim |
| Turn signals | Creates a sharper on-off signal | Socket type and flash rate |
| Brake and tail lights | Improves rearward signaling | Lens color, socket, and running-light function |
| Accent lights | Adds decorative illumination | Placement, weather sealing, and local laws |
LED Headlights
A replacement headlight can provide a whiter beam and use less power than a comparable halogen unit. Aim matters after installation. Even a well-designed lamp can glare if it points too high.
Color temperatures near 5,000K to 6,000K produce a clean white appearance. Higher values can look blue and may reduce contrast in rain or fog. Select the beam quality before considering color.
Turn Signals and Brake Lights
LED turn signals illuminate faster and draw less current than incandescent bulbs. That lower current can cause hyperflashing on some motorcycles. Use a model-compatible equalizer or follow the manufacturer’s control-module procedure.
Rear lighting should create a clear difference between running and braking output. Confirm that red lenses produce the required red signal. Smoked lenses can reduce useful output, especially in direct sunlight.
Passing and Auxiliary Lights
Passing lights can widen near-field coverage and help riders see road edges. Spot beams reach farther, while flood beams spread light across a broader area. Mount and aim them so they do not shine into approaching traffic.
Use a relay and fused power feed if the lights draw more current than the factory circuit supports. Route wiring away from exhaust parts, steering stops, and sharp edges. Leave enough slack for full handlebar movement.
Accent and Engine Lights
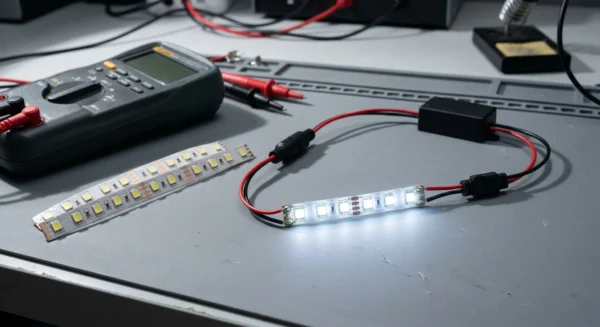
Accent LEDs can illuminate the engine, frame, or lower bodywork. Choose sealed strips or pods with a published water-resistance rating. Secure each wire against vibration and road debris.
State and local laws may restrict colors, flashing patterns, and visible light while riding. Red and blue accent lighting often receives the strictest treatment. Review the rules before using decorative lights on public roads.
Road-Legal and Weather-Resistance Checks
Before buying LED lights for Harley Davidson models, review the product’s road-use documentation. In the United States, sellers often use the phrase “DOT approved,” although the Department of Transportation does not approve individual products. Manufacturers certify that applicable equipment meets federal standards.
Look for compliant markings and documentation from an established manufacturer. Also check state rules for auxiliary lights, turn-signal spacing, and permitted colors. Regulations can differ by location.
Weather protection deserves equal attention. An IP67-rated housing resists dust and temporary water immersion under defined test conditions. However, connectors and splices also need protection from water and corrosion.
Installation Steps That Prevent Common Problems
Disconnect the battery’s negative cable before working on the lighting circuit. Protect painted surfaces around the headlight bucket or fairing. Keep the original hardware until the new system passes every test.
- Compare the new light and adapter with the original parts.
- Inspect connectors for bent pins, corrosion, or loose terminals.
- Connect the light without forcing plugs or reversing polarity.
- Secure drivers, resistors, and extra wiring away from heat.
- Reconnect the battery and test every lighting function.
- Aim the headlight according to the service manual and local requirements.
- Recheck fasteners and wiring after the first ride.
Load resistors can become hot during operation. Mount them on a heat-tolerant surface, away from plastic and wiring insulation. Do not hide them inside tightly packed foam or tape.
If the light flickers, inspect the ground connection before adding extra components. A weak ground can imitate a compatibility problem. Also verify battery voltage and connector tension.
What to Look for Before You Buy
Reliable product listings provide dimensions, connector details, power draw, and model-specific fitment. They should also identify what the package includes. Vague “fits all Harley” claims deserve caution.
- Optical performance: Look for a controlled low-beam cutoff and useful high-beam reach.
- Fitment data: Confirm the model year, trim, housing size, and required adapters.
- Weather sealing: Check the rating for the lamp, driver, and connectors.
- Electrical compatibility: Verify support for the motorcycle’s control module and turn-signal system.
- Warranty support: Choose a seller that publishes clear replacement terms.
- Serviceable installation: Favor plug-in harnesses and accessible mounting hardware.
Price alone does not predict performance. A lower-output lamp with controlled optics can outperform a brighter lamp that scatters light. Good documentation also reduces installation mistakes.
Build a Lighting Setup That Works on the Road
Well-chosen LED lights for Harley Davidson motorcycles should improve visibility without creating glare or electrical faults. Start with correct fitment, then assess the beam pattern, wiring requirements, and legal status. Careful installation and accurate aiming will deliver more value than exaggerated lumen claims.