Poolside LED lights require careful planning for electrical safety, glare control, and even footing illumination. Address those needs before adding color effects or decorative fixtures. Wet surfaces and reflective materials make ordinary patio lights and generic LED strips unsuitable for many pool areas.
First, define what each light must do. Walking surfaces, seating, landscaping, and underwater areas all need different beam patterns, brightness levels, mounting positions, and location ratings. As a starting point, provide about 1 to 2 foot-candles on paths and steps. Then add focused light at cooking, dining, and equipment areas.
Local electrical and building codes have the final word. These rules become especially important near the water, wiring, transformers, bonding systems, and pool equipment.
Plan Poolside LED Lights Around Safety and Glare
Indirect lighting usually works best around a pool. Good options include step lights aimed at the deck, shielded fixtures beneath benches, and downlights mounted above eye level. A bare lamp facing the water can create harsh reflections and make the pool edge harder to see.
Aim light across walking surfaces rather than toward swimmers, seated guests, or neighboring properties. Warm 2700K to 3000K light suits wood decking, masonry, and seating areas. Neutral 3500K to 4000K light can make steps and work surfaces appear crisper.
Compare brightness with lumens, not watts. Watts measure electricity use, while lumens describe light output. A shielded step light may need only 50 to 150 lumens. A wall-mounted downlight covering a broad patio may provide 500 to 1,200 lumens.
Beam pattern matters just as much as output. A 20-degree beam creates a narrow accent, while a beam of 60 degrees or more spreads light across paving. Water, pale concrete, and glazed tile reflect substantial light. Start with fewer fixtures and leave room to expand instead of flooding the yard with glare.
Choose the Correct Wet-Location and IP Ratings
Fixtures exposed to rain or sprinkler spray need a UL or ETL wet-location listing. A damp-location rating only suits areas where a roof or enclosure prevents direct water contact. For exposed fixtures, IP65 provides a sensible minimum level of protection against dust and water jets. However, IP65 does not permit submersion.
Consider IP67 for deck lights installed where water can collect. The fixture instructions must also permit the planned mounting position. An IP rating cannot replace the required wet-location listing.
Underwater lights need an IP68 enclosure and a listing specifically for swimming-pool use. An IP number alone does not confirm compliance with pool electrical rules, chemical exposure, bonding, or safe underwater operation. Never place a generic IP68 landscape light or LED strip in a pool simply because a seller calls it waterproof.
Check the entire system, not only the LED module. Seals, cable entries, drivers, connectors, and power supplies all need ratings that match their installed locations.
| Installation area | Useful light level or output | Location requirement | Practical specification |
|---|---|---|---|
| Steps and level changes | About 1 to 2 foot-candles on the tread | Wet location if exposed | Shielded 50 to 150 lumen step lights, typically 2700K to 3000K |
| Open pool deck | About 1 to 2 foot-candles with even distribution | Wet-location listed | Wide-beam downlights or low-glare path lights |
| Dining and seating | About 5 foot-candles on tables where practical | Damp or wet location based on exposure | Dimmable 2700K to 3000K overhead or indirect light |
| Grill or outdoor counter | About 10 to 20 foot-candles on the work surface | Wet-location listed when exposed | High-CRI task light around 3000K to 4000K |
| Landscape accents | Typically 150 to 500 lumens per focal point | Wet-location listed | 15- to 40-degree beam with a glare shield |
| Deck or coping recesses | Low-output marker light | Often IP67 with a wet-location listing | Flush, load-rated fixture with sealed connections |
| Inside the pool | Output based on pool size, finish, and fixture optics | Pool-use listing and suitable submersible rating | Purpose-built pool luminaire installed under the adopted code |
Creative Lighting Ideas That Serve a Purpose
A practical poolside scheme uses several low-output layers instead of one powerful floodlight. Begin with permanent safety lighting at edges, steps, gates, and routes back to the house. Add decorative lighting after those surfaces are easy to see.
Place safety and accent layers on separate control zones. This arrangement keeps paths visible while you dim or switch off decorative fixtures.
Repeated fixtures often create a more consistent layout than isolated bright spots. However, spacing should follow the actual beam pattern rather than a decorative grid. Test positions after dark with temporary battery lights or adjustable landscape fixtures before cutting decking or masonry.
View the test from the pool, seating areas, and nearby windows. A layout that looks balanced from the patio may still cause direct glare for a swimmer.
Recessed Step and Riser Lights
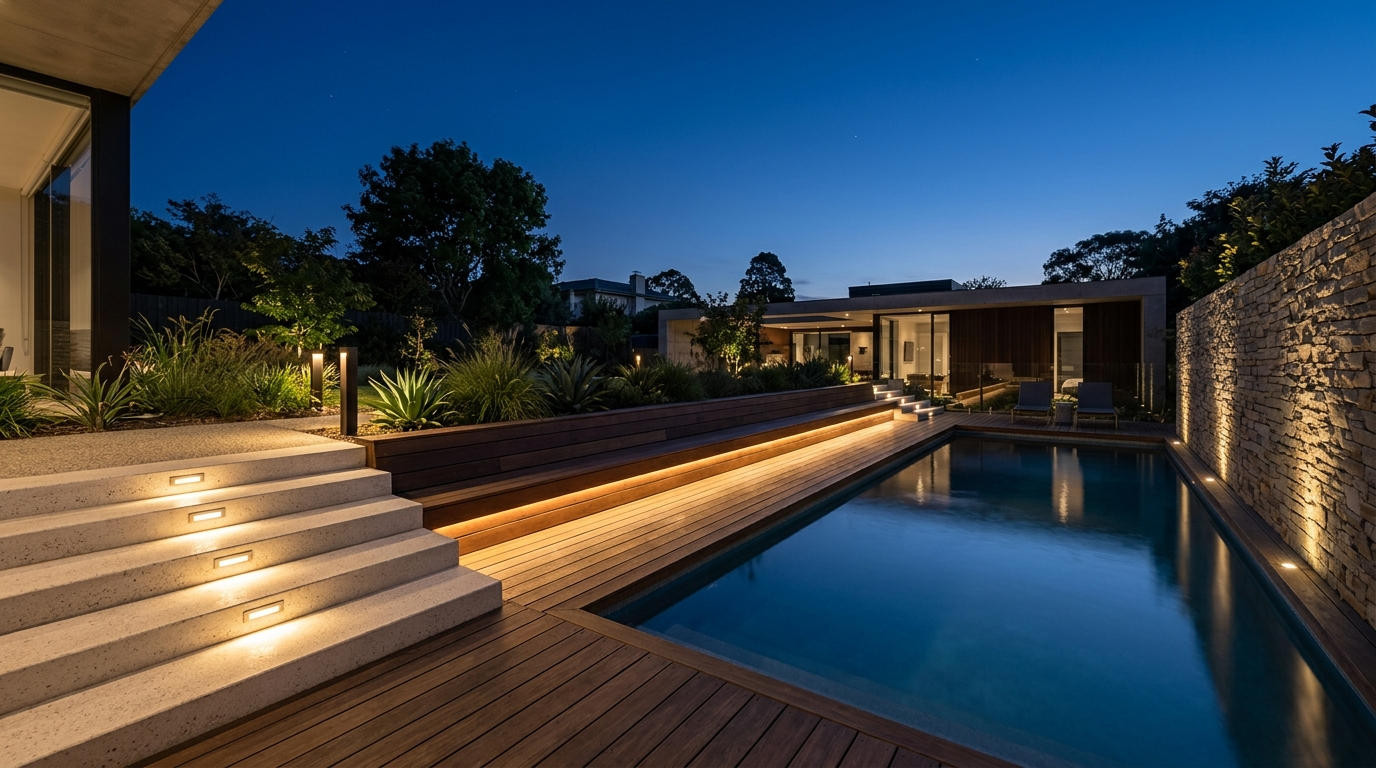
Small recessed lights in stair risers cast a controlled wash across each tread. Position them below normal eye level. Louvers or asymmetric optics can hide the diode from people standing across the deck.
An output of 50 to 150 lumens per fixture usually suits a residential step. Tread width, surface color, fixture spacing, and ambient light will affect the final requirement. Dark stone absorbs more light than pale concrete and may need closer spacing.
Flush deck lights can mark the pool perimeter, but they should not provide the main walking light. Choose fixtures rated for expected foot traffic and possible furniture loads. Slip-resistant trim can also improve footing around the fixture.
Make sure water drains away from the housing rather than collecting around the lens. Keep service access available for future gasket, driver, or fixture replacement.
Concealed Linear Light Under Benches and Coping
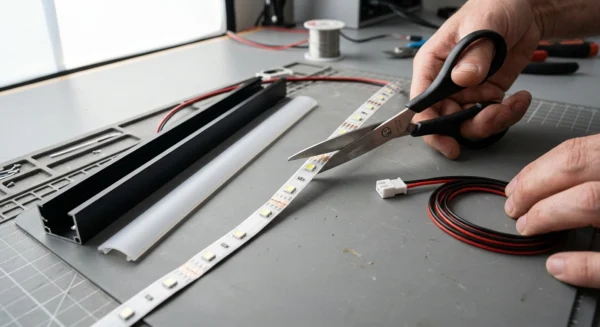
A low-voltage LED strip beneath a bench can cast soft light without exposing individual diodes. Install an outdoor-rated strip in an aluminum channel with a frosted diffuser. Position the channel so water cannot collect against the strip or its connectors.
The aluminum channel protects the strip and helps release heat. It usually provides better reliability than adhesive tape applied directly to wood or masonry. Choose a modest output instead of running an oversized strip near the bottom of its dimming range.
Under-coping lighting can create a defined line around the pool. However, proximity to water may trigger pool-specific rules for wiring, power supplies, mounting locations, and equipment listings. Aim the light at the deck or wall instead of directly across the water.
Ask a qualified pool electrician to review the proposed product and location. The electrician can confirm whether local code permits the installation.
Moonlighting From Trees or Pergolas
Downlighting from a tree or pergola can imitate soft moonlight while keeping fixtures away from the deck. Use narrow or medium beams to light branches, planting beds, and selected areas of pavement. Avoid lighting the entire yard at the same intensity.
Cross-lighting from two positions softens deep shadows near furniture and level changes. A color temperature of 2700K to 3000K keeps foliage and wood from appearing washed out.
Tree-mounted luminaires need attachments that allow for growth without damaging the trunk. Cable routing must accommodate movement while avoiding loose wire and maintenance hazards. Inspect tree-mounted equipment regularly as branches grow.
Place pergola fixtures outside normal sight lines and add shields when people can see the LED source from a chair. Low voltage reduces some risks, but it does not excuse unsuitable transformers or cable connections.
Wall Washing and Grazing
Wall washing uses a wide-beam fixture set far enough from a wall to create even illumination. Grazing places the fixture close to stone or brick so shadows reveal the texture. Both methods work well on retaining walls, privacy screens, and exterior walls behind pools.
These techniques also provide reflected light without putting a bright source at eye level. Keep the output restrained so the wall supports visibility instead of dominating the scene.
Use narrow beams carefully because a small aiming error can create a harsh hot spot. For textured masonry, begin about 6 to 12 inches from the surface and adjust after dark. Smooth walls usually need more setback for even coverage.
Keep light below windows and eaves, and prevent spill onto neighboring property. Use broader distribution and lower output on glossy walls because they can create distracting reflections.
Illuminated Planters and Landscape Borders
Low bollards, miniature path lights, and shielded spotlights can define the pool zone without crowding the coping. Place path lights beside planting beds, not in the center of narrow walkways. Fixtures in walking routes can become trip hazards.
Choose fully shielded fixtures instead of lantern-style products that expose a bright lamp in every direction. The beam should illuminate paving between fixtures rather than create separate circles of light.
For specimen trees or architectural plants, an adjustable spotlight with 150 to 500 lumens often works better than a high-output flood. Narrow beams suit tall trunks, while wider beams cover shrubs and layered planting.
Keep foliage away from the lens. Leaves can block the beam, trap heat, and hold moisture against the housing. Re-aim fixtures as plants grow instead of compensating with brighter lamps.
Separate Fixture, Layout, and Mounting Decisions
Choose poolside LED lights according to the task each fixture must perform. Step lights mark height changes, path lights define routes, spotlights add accents, and wide-beam downlights cover activity areas. One fixture rarely performs all four jobs without creating bright centers, dark edges, or glare.
Integrated LED fixtures offer compact optics and effective weather sealing. In contrast, landscape fixtures with replaceable lamps may simplify future service. Compare expected lifespan, replacement options, warranty terms, and access before choosing either type.
Create a scaled plan showing the waterline, deck edges, stairs, doors, gates, seating, planting, transformers, and cable routes. Mark sight lines from chairs and from inside the pool. This step helps you reposition exposed light sources before installation.
Mounting height affects coverage and spacing. A higher luminaire usually covers more area, but it also needs better shielding. Check the final design at night because daylight cannot reveal reflections, shadows, or mismatched color temperatures.
Use High-CRI Light Where Color Matters
Color rendering index, or CRI, describes how faithfully a source renders colors against a reference source. A CRI of 80 usually works for basic path lighting. Choose 90 CRI or higher around dining, cooking, finishes, and landscaping where skin tones and reds should look natural.
CRI does not describe color temperature, brightness, beam control, or consistency between fixtures. Two products can both claim 90 CRI yet show different tints because of manufacturing tolerances.
Use one primary color temperature for permanent architectural lighting whenever possible. Mixing 2700K step lights, 4000K path lights, and 5000K floodlights can make the space look disconnected. A neutral 3000K often supports visibility without making warm materials look orange or vegetation look blue.
Existing underwater lights may use a cooler white. Test nearby warm-white fixtures with those lights before purchasing the full system.
Use Color-Changing Light With Restraint
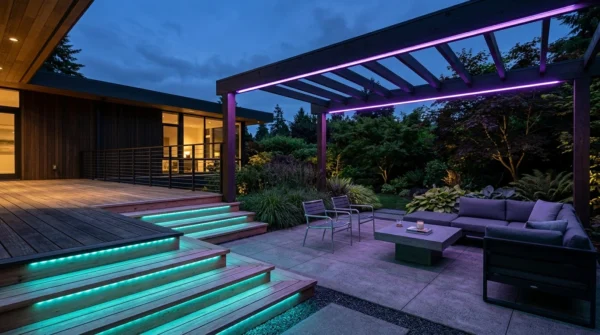
RGB and RGBW fixtures can add color for parties or seasonal displays. Choose RGBW when the same fixture must also provide practical everyday light. RGB systems mix red, green, and blue to create white, which can look tinted and render colors poorly.
RGBW fixtures add a dedicated white emitter. Some systems also combine tunable white with color. Check every controller, driver, connector, and luminaire for a location rating that matches its environment.
Use saturated color as an accent rather than the only light around steps and walking routes. Deep blue and red can make level changes and surface colors harder to judge. Keep a separate white-light safety layer active.
Static or slow-changing scenes cause less visual strain than rapid effects, especially when reflections cover the water. For underwater color fixtures, use pool-listed equipment and hire a qualified pool electrician.
Plan Controls, Dimming, and Smart Scheduling
Divide the system into zones for circulation, seating, landscaping, task areas, and underwater fixtures. A low-output path circuit can then remain active while wall washing or tree lighting switches off.
Astronomical timers track sunset and often work more reliably than dusk sensors placed near other lights. Provide a manual override in a convenient location.
LED fixtures require compatible LED-rated dimmers. Pairing an LED with an old incandescent dimmer often causes flicker or buzzing. The fixture, driver, and dimmer must use the same dimming method and support a practical dimming range.
Smart relays must meet the load and location requirements. Do not place them in improvised weatherproof boxes. Motion sensors can help at gates and equipment areas, but avoid sudden high-output light aimed at people whose eyes have adjusted to darkness.
Low Voltage Does Not Remove Pool Electrical Rules
Many landscape fixtures operate at 12 volts. This voltage reduces shock risk and can simplify ordinary yard installations. However, pool-specific rules still govern transformers, wiring methods, fixture placement, and separation from water.
A standard landscape transformer may not suit a pool area simply because it supplies low voltage. Use listed equipment for its intended purpose and follow the manufacturer’s installation instructions. The locally adopted electrical code also applies.
Hire a licensed electrician for line-voltage wiring, junction boxes, new circuits, bonding work, and permit-related changes. Choose someone with pool and spa experience when possible. The same guidance applies when replacing underwater fixtures or modifying cable that enters a wet niche.
Pool bonding and grounding perform different functions. Never attach decorative lighting casually to pool equipment or metalwork. The local authority having jurisdiction determines required clearances and approved equipment.
Account for Heat, Corrosion, and Maintenance
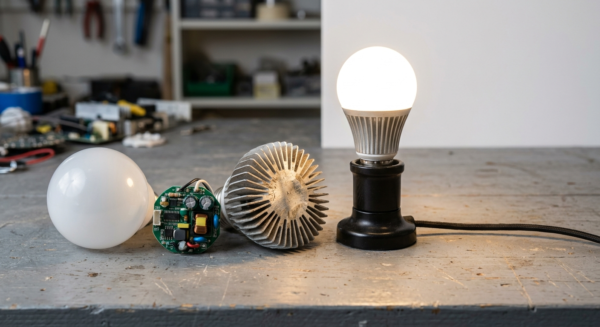
LEDs last longer when their drivers and diode boards can release heat. Outdoor housings need effective seals, but those seals can also trap heat. Choose fixtures designed to manage heat within the enclosure.
If a sealed fixture uses a replaceable bulb, confirm that the bulb carries an enclosed-fixture rating. Excess heat can shorten driver life and cause early dimming, flicker, or failure.
Chlorinated water, salt systems, fertilizer, and coastal air can damage screws, trims, connectors, and low-quality finishes. Stainless hardware, powder-coated aluminum, and sealed cable glands generally resist these conditions better than exposed plated steel.
Avoid careless combinations of metals because moisture can promote galvanic corrosion. Clean lenses periodically. Mineral deposits and landscaping residue can distort the beam and reduce output long before the LED reaches its projected L70 life.
L70 marks the projected point when a source falls to 70 percent of its initial output. Manufacturers base this estimate on test conditions. It does not guarantee that the driver, seal, housing, or finish will last for the same period.
Near a pool, corrosion and water intrusion often end fixture life before the LED package fails. Accessible connectors, drivers, and housings therefore matter more than an optimistic rated-hour claim.
Calculate Potential Energy Savings
Residential pool lighting usually runs fewer hours than commercial exterior lighting. As a result, energy savings may not quickly repay an elaborate new installation.
Consider ten 20-watt halogen landscape lights replaced with ten 5-watt LED fixtures. The connected load drops from 200 watts to 50 watts, saving 150 watts during operation. At five hours per night, the system saves 273.75 kilowatt-hours each year.
The calculation is 0.15 kilowatt multiplied by 5 hours and 365 days. At $0.16 per kilowatt-hour, the annual energy saving equals $43.80.
Installation costs remain separate. Transformer replacement, trenching, deck cutting, controls, permits, and electrician labor can outweigh several years of energy savings. Reduced lamp replacement and better scheduling may still provide maintenance value.
Residential rebates for decorative landscape lighting vary by location. Check with the serving utility before including a rebate in the payback estimate.
Build a Balanced Poolside Lighting Plan
Well-planned poolside LED lights begin with shielded white light on steps, deck edges, gates, and routes to the house. Lower-output layers can then define walls, trees, planters, benches, and dining areas. This approach avoids dependence on one glaring floodlight.
Specify wet-location-listed fixtures, suitable IP ratings, consistent color temperature, and enough CRI for the illuminated surfaces. Use only pool-listed products underwater, and keep ordinary landscape strips out of the pool.
Test beam positions after dark before making permanent holes in coping, masonry, or decking. Put safety and decorative lighting on separate controls so you can change the scene without leaving walking areas dark.
Stop treating the project as DIY when it reaches line voltage, a junction box, pool bonding, a new circuit, or a permit. A licensed pool electrician can turn the plan into a safe, serviceable installation that works after dark.