LED troubleshooting common issues starts by separating a failed lamp from a compatibility, heat, control, or wiring problem. In most homes, the fastest test uses a known-good LED of the correct type. Check whether the symptom follows the bulb or remains with the fixture.
This guide to LED troubleshooting common issues covers household bulbs, integrated fixtures, recessed retrofit modules, and low-voltage lighting. The steps do not require opening a driver, dismantling a fixture, or testing energized conductors. Those tasks expose line voltage and may defeat the fixture’s electrical and fire protections.
Before buying replacements, note the installation location, dimmer type, and enclosure. Check the fixture label for wattage limits, location ratings, and lamp restrictions. Choose products with a recognized UL or ETL listing.
Use damp-rated equipment in covered locations exposed to humidity. Choose wet-rated equipment where water can directly contact the lamp or fixture.
Remember that watts measure electrical use, not brightness. Compare lamps by lumens. About 800 lumens provides a practical replacement for a traditional 60-watt incandescent, although the LED uses far less power.
What You Need
- Skill level: Basic homeowner skills for screw-in lamps and plug-in low-voltage equipment
- A licensed electrician for junction boxes, hardwired fixtures, loose building wiring, new circuits, or energized testing
- A known-good LED bulb with the correct base, voltage, lumen output, location rating, and fixture compatibility
- A known-good portable lamp or fixture for testing removable bulbs
- A non-contact voltage detector for an initial safety check only
- A flashlight or headlamp
- A stable ladder rated for the user and working height
- Clean, dry gloves or a microfiber cloth
- Documentation for the bulb, fixture, driver, dimmer, or transformer
- The circuit breaker directory
- The manufacturer’s LED dimmer compatibility list
- Replacement wire connectors only for work completed by a licensed electrician
LED Troubleshooting Common Issues: A Safe Order
Do not begin by removing a ceiling fixture or adjusting wiring. First, review the operating conditions. Then test the lamp before considering the dimmer, driver, transformer, or branch circuit.
This order helps you avoid replacing a working LED when heat or an incompatible control causes the problem.
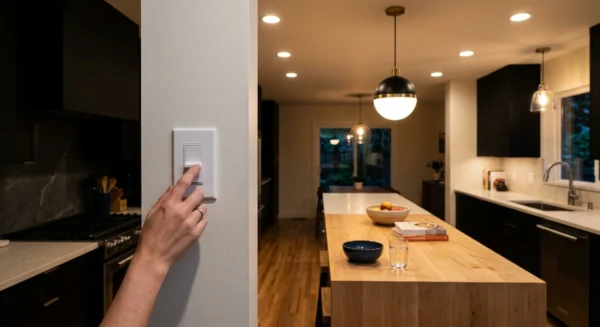
Turn off the wall switch before touching a lamp. Allow the lamp and fixture to cool. For work inside a hardwired fixture or junction box, turn off the breaker and call a licensed electrician.
A wall switch in the off position does not prove that every conductor in the box lacks power.
- Record the symptom and operating conditions. Run the light at full output if the control allows it. Note whether the lamp appears dim, starts slowly, flickers, buzzes, cuts out, or remains dead. Check: Record whether the problem changes as the LED warms or the dimmer position changes.
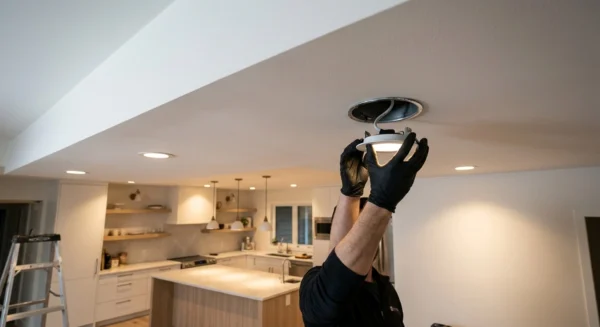
- Inspect the installation without opening the fixture. Look for cracked plastic, discoloration, moisture, scorch marks, a deformed base, or a burnt smell. Check: If you find heat or electrical damage, leave the circuit off and call a licensed electrician.
- Confirm that the lamp suits the housing. Review its specifications for dimmer compatibility, enclosed-fixture approval, and location restrictions. Check: Match every rating to the installation, not just the bulb base.
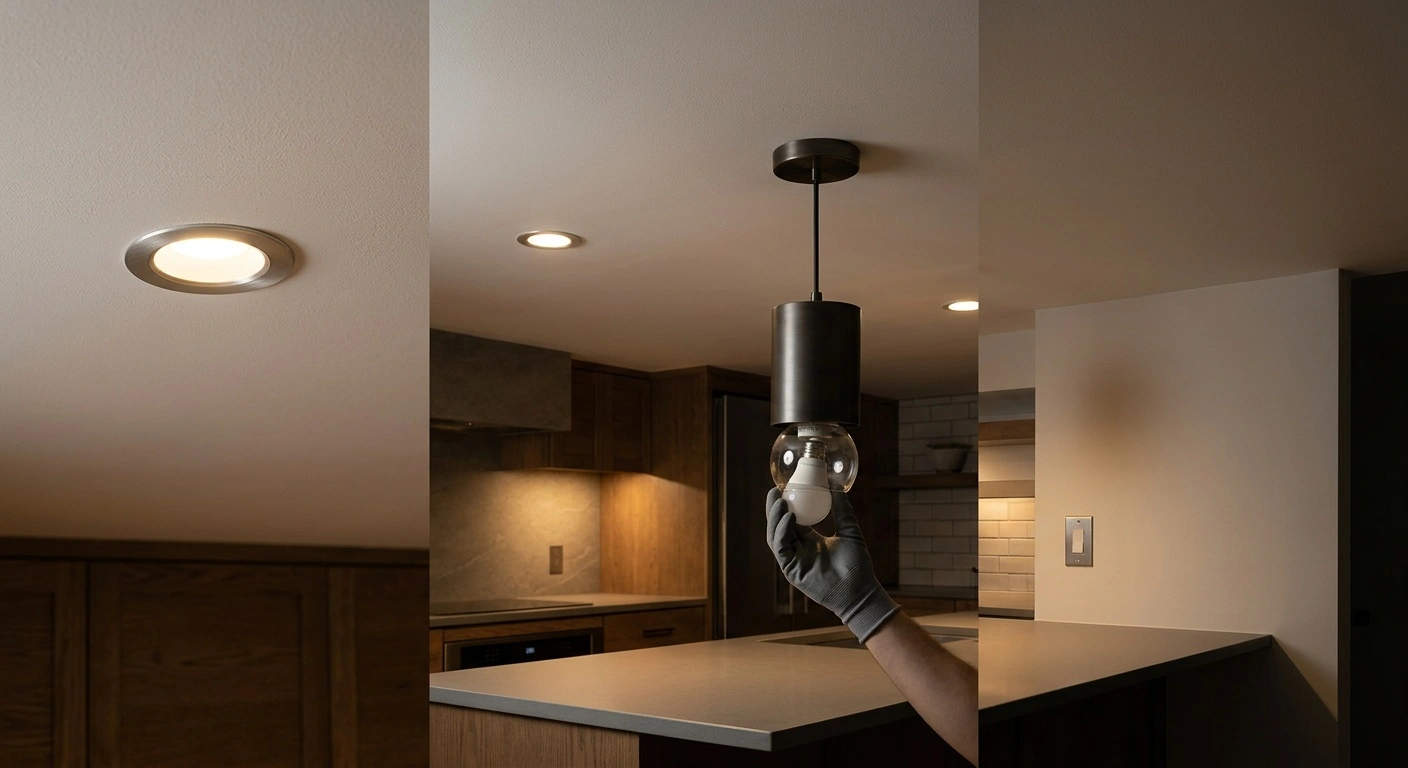
- Reseat a removable bulb. Turn off power and let the lamp cool. Remove it, inspect the base and contact, and reinstall it without overtightening. Check: The lamp should sit firmly and operate without cutting out.
- Test the suspect bulb in a known-good fixture. Use the same supply voltage and base. Prefer a fixture without a dimmer. Check: If the problem follows the bulb, replace it. If the fault remains at the original fixture, continue testing that installation.
- Test a compatible LED in the suspect fixture. Match the base and voltage. Do not exceed the fixture’s marked wattage limit, even if the LED draws little power. Check: Normal operation with the test lamp points to a failed or incompatible original bulb.
- Test the dimming function through normal controls. Set the dimmer to full output. You can also test the bulb in a separate, non-dimmed fixture. Do not rewire the circuit. Check: If the noise, flicker, or dimness disappears, suspect the lamp and dimmer combination.
- Check the low-voltage power supply where applicable. For plug-in strips, cabinet lights, or landscape systems, compare the adapter ratings with the connected load. Do not open the adapter. Check: The voltage must match, and the total load must remain within the supply’s rated capacity.
- Stop when the diagnosis reaches fixed wiring. Do not open a junction box, probe live conductors, replace a hardwired driver, or alter a branch circuit. Check: Call a licensed electrician if safe lamp, rating, control, and plug-in supply checks do not identify the fault.
What Each LED Symptom Usually Indicates
Several faults can produce the same symptom. For example, a dim LED may contain a failing driver. It may also have insufficient lumen output, an incompatible transformer, or a dimmer that never reaches full output.
A dead LED may indicate a failed lamp, a tripped protective device, or lost power at the fixture.
Buzzing often comes from the driver or dimmer rather than the light-emitting diodes. A faint sound close to the fixture differs from a buzz heard across a quiet room. Use the table below to choose a safe first check.
| Symptom | Likely causes | Safe first check | When to stop |
|---|---|---|---|
| Consistently dim | Too few lumens, incompatible dimmer, low-voltage supply mismatch, aging driver, or dirty diffuser | Test at full output and compare with a known-good bulb | Call an electrician if several fixtures on one circuit are affected |
| Starts bright, then dims | Heat buildup, thermal protection, overloaded plug-in driver, or failing electronics | Check enclosed-fixture approval and ventilation requirements | Stop if the housing feels unusually hot, shows discoloration, or smells burnt |
| Completely dead | Failed bulb, tripped breaker, failed driver, damaged socket, or wiring fault | Test the bulb in another fixture and check the breaker once | Call an electrician if the breaker trips again or the fixture remains dead |
| Buzzes only when dimmed | Non-LED dimmer, incompatible lamp, low dimmer load, or poor dimming range | Set the dimmer to full and consult the manufacturer’s compatibility list | Have an electrician replace a hardwired dimmer |
| Buzzes at full output | Loose lamp, resonating driver parts, failing driver, or loose electrical connection | Turn off power, then reseat or replace the bulb | Stop for crackling, heat, odor, or noise from a switch or junction box |
| Flickers or cuts out | Old dimmer, loose contact, overheated driver, incompatible transformer, or wiring fault | Test the lamp in a known-good fixture without a dimmer | Call an electrician if several lights flicker together |
Troubleshooting an LED That Looks Too Dim
Problem: The LED Has Always Looked Dim
Cause: The replacement lamp may produce too few lumens. A lower-wattage lamp does not automatically match the brightness of the lamp it replaces. Watts measure power use, while lumens measure light output.
Fix: Select the needed lumen output while respecting the fixture’s physical and electrical limits. Roughly 800 lumens compares with a common 60-watt incandescent. However, shades, beam patterns, and diffusers can make equal-lumen lamps look different.
A narrow directional lamp may brightly light a countertop while leaving the surrounding room dark.
Also review the color temperature. A 2700K lamp looks warm, while a 4000K lamp appears more neutral. The cooler lamp may look crisper on a work surface, but color temperature cannot replace adequate lumens.
Problem: The LED Starts Bright and Then Dims
Cause: Suspect heat when output falls after several minutes. LED drivers and diode boards generate heat, even though LEDs use less energy than incandescent lamps. A sealed globe or enclosed flush-mount housing can trap that heat.
Fix: Confirm that the bulb carries an enclosed-fixture rating. If it does not, replace it with a suitable bulb. You can also use another fixture configuration if the manufacturer permits it.
Do not permanently remove a required cover to release heat. The cover may provide electrical protection or maintain the fixture’s location rating.
A plug-in low-voltage driver may reduce output or shut down under excessive load. Add the connected lighting wattage and compare it with the driver’s output rating. Follow any safety margin that the manufacturer specifies.
If an integrated hardwired fixture dims as it warms, the driver or LED board may have failed. Ask a licensed electrician to service or replace it.
Problem: Several LEDs on One Circuit Become Dim
Cause: When several lights change together, individual lamps become less likely causes. Suspect a shared dimmer, transformer, control module, neutral connection, or supply-voltage problem. Large appliances can cause brief changes when they start, but persistent dimness requires attention.
Fix: Note whether the change affects one fixture, one switched group, or several rooms. Do not tighten neutral conductors or measure live panel voltage yourself. A loose neutral can damage equipment and create shock or fire hazards.
Call a licensed electrician when several fixtures vary together, especially if other lights brighten at the same time. Explain which circuits show the symptom and whether appliance operation affects them. Those details help more than replacing bulbs at random.
Troubleshooting LED Failure and Early Burnout
Problem: A New LED Bulb Does Not Turn On
Cause: A new bulb may have a defect. However, the socket, switch, breaker, or fixture contact may also cause the failure. A deep shade or socket collar can prevent some bulb bases from seating correctly.
Never bend a socket contact while the fixture remains connected to power.
Fix: Turn off power, reseat the bulb, and test it in a known-good fixture. Next, install a compatible known-good bulb in the original fixture. These substitutions reveal whether the fault follows the lamp or remains with the installation.
If the breaker has tripped, switch off or unplug loads on the circuit before resetting it once. A breaker that trips again indicates a fault or overload. Call a licensed electrician.
Do not reset the breaker repeatedly. Never install a larger breaker or use a fuse with a higher rating.
Problem: LED Bulbs Fail Earlier Than Expected
Cause: Heat, incompatible dimming, voltage disturbances, moisture, and poor driver electronics can shorten LED life. Recessed housings and sealed decorative globes often trap heat. Condensation can also damage a dry-rated bulb in a bathroom or exterior fixture.
Fix: Match the bulb to the housing, control, and environment. In bathrooms, use a damp-rated product where humidity occurs without direct water contact. Use a wet-rated product where spray or direct water exposure can occur.
For outdoor lighting, follow the manufacturer’s exposure instructions. An IP65 rating generally protects against rain and water jets. It does not permit submersion.
Manufacturers calculate LED life ratings under specified test conditions. Many use a lumen-maintenance measurement such as L70. L70 marks the projected point when light output falls to 70 percent of its initial level.
L70 does not guarantee that every driver or lamp will operate for the stated number of hours. A hot, sealed fixture can produce a much shorter service life.
Problem: An Integrated LED Fixture Has Failed
Cause: Integrated fixtures lack a standard replaceable bulb. The failed part may include the driver, LED board, thermal connection, or control receiver. Some designs offer replaceable drivers, while others require complete fixture replacement.
Check the warranty and parts diagram before planning a repair.
Fix: Check other loads on the circuit to confirm general power availability. Do not open the junction box or probe the fixture while energized. If the fixture includes a user-replaceable plug-in module, follow the manufacturer’s instructions.
Do not select a generic driver based only on its shape or size. The replacement must match output current, voltage range, dimming protocol, insulation, and enclosure rating. A mismatched constant-current driver can overdrive the LED board and create excessive heat.
A licensed electrician should replace a hardwired driver or fixture.
Troubleshooting LED Buzzing
Problem: The LED Buzzes on a Dimmer
Cause: LEDs need compatible LED-rated dimmers. Old incandescent dimmers often cause buzzing and flicker. Their waveforms and minimum-load requirements may not suit electronic LED drivers.
Two products marked “dimmable” will not necessarily work well together.
Fix: Check the lamp or fixture manufacturer’s tested dimmer list. Set the control to full output and listen for a change. If the sound disappears or drops sharply, suspect a compatibility problem.
Do not add lamps simply to satisfy an old dimmer’s minimum load.
Some LED dimmers include a low-end trim adjustment. This setting can keep lamps out of an unstable range where they flicker or shut off. Follow the dimmer’s instructions if you can make the adjustment without removing the wall plate.
Ask a licensed electrician to install or replace a hardwired dimmer.
Problem: The LED Buzzes Without a Dimmer
Cause: Driver inductors, transformers, or capacitors can vibrate at audible frequencies. Thin metal or glass parts may amplify a small vibration. A failing driver may also grow louder as it warms.
Fix: Turn off power and let the fixture cool. Reseat a removable lamp and secure any user-accessible shade or retaining ring. Do not overtighten glass, plastic diffusers, or lamp bases.
Test the bulb in another fixture to see whether the sound follows it.
Replace a removable bulb if the buzz grows louder or becomes objectionable. For an integrated fixture, contact the manufacturer or call a licensed electrician. Switch off the circuit immediately if you notice crackling, burning odors, discoloration, flickering at the switch, or unusual heat.
Problem: A Low-Voltage LED System Buzzes
Cause: An older transformer may require more load than the LED system provides. Electronic transformers designed for halogen lamps often have minimum-load requirements. Some also produce output waveforms that LED drivers cannot handle reliably.
The result may include buzzing, flicker, poor dimming, or failure to start.
Fix: Confirm that the LED matches the transformer’s nominal output and type. Do not treat every 12-volt product as interchangeable. Some require AC, some require DC, and others accept either within a stated range.
Match the supply to the LED manufacturer’s requirements. Keep the connected load within the supply rating.
You can usually replace a listed plug-in power supply without electrical work. Its connector, polarity, voltage, current capacity, and environmental rating must all match. A licensed electrician should replace hardwired transformers and drivers.
In damp or wet locations, maintain the location rating of the complete system. A matching connector alone does not provide adequate protection.
When Flicker Points to the Same Fault
Dimness, buzzing, and flicker can share the same driver or control fault. Visible pulsing at one dimmer position often indicates low-end instability. Random dropouts after warm-up suggest thermal protection or a failing driver.
Flicker across several fixtures may indicate a shared control or wiring problem.
First, test the lamp at full output. When possible, test it in a separate fixture without a dimmer. If it works normally there, compare the original dimmer with the LED manufacturer’s compatibility list.
Installing a random dimmable bulb may change the symptom without correcting the compatibility problem.
Do not ignore flicker with sparking sounds, hot switches, electrical odors, or simultaneous brightness changes in other rooms. These signs may point to a loose connection. Turn off the affected circuit and call a licensed electrician.
When to Replace the LED or Call an Electrician
Replace a removable LED when the fault follows it to a known-good fixture. Also replace it if the base shows discoloration or the lamp repeatedly dims after warming under approved conditions. Choose the new lamp by lumens, color temperature, and dimmer compatibility.
Also consider CRI for tasks that require accurate color and beam angle for directional lighting. Confirm enclosed-fixture approval and match the dry, damp, or wet rating to the location.
Replace or professionally service an integrated fixture when its driver becomes noisy or its output falls substantially. Replacement also makes sense when parts remain unavailable or the fixture shows heat damage. Choose a UL- or ETL-listed fixture that suits the junction box and installation location.
A physically similar fixture may have different electrical or thermal requirements.
Stop troubleshooting if a breaker trips again or several lights change brightness together. Also stop if a switch or junction box buzzes. Arcing, moisture entry, melted insulation, burning odors, and overheating require immediate professional attention.
Call a licensed electrician whenever diagnosis requires opening a hardwired fixture, entering a junction box, replacing a wall dimmer, or taking energized measurements. A safe process identifies faults in the lamp, control, environment, or power supply without creating a dangerous wiring repair.